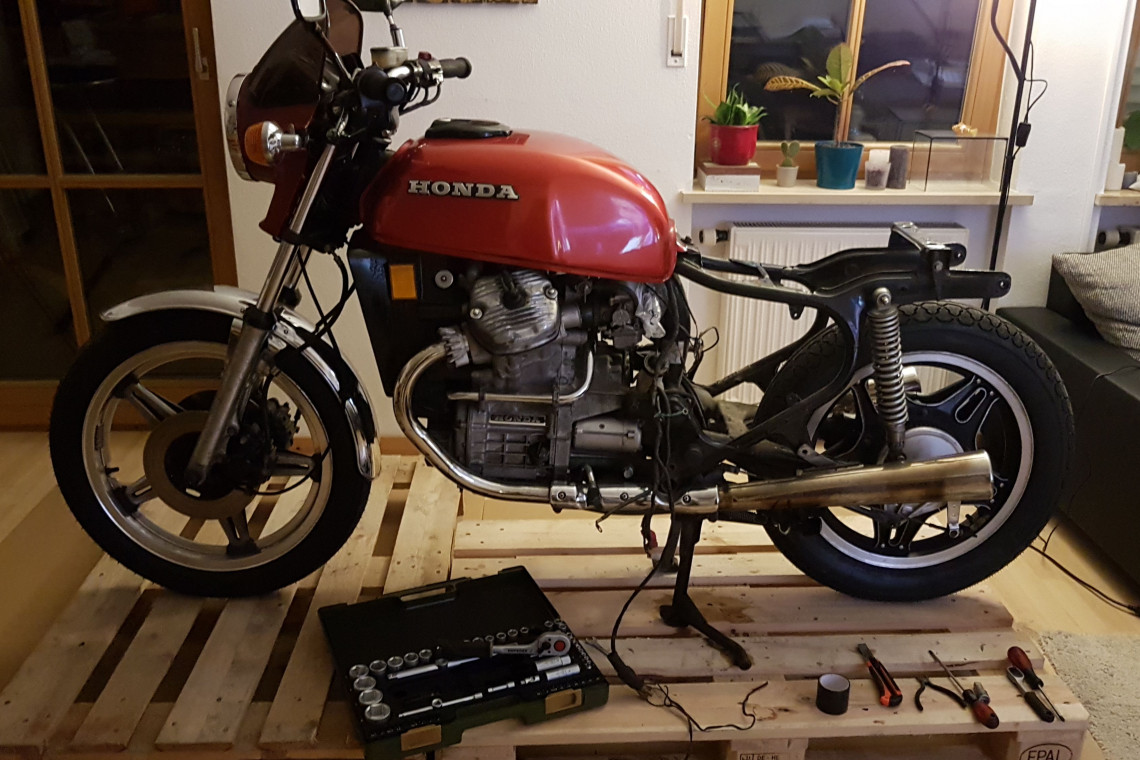
According to bikeexif, there are 12 steps to building a cafe racer (http://www.bikeexif.com/building-a-cafe-racer). I will ignore a first few (because I did them in earlier posts) and go straight to the planning the build. The first idea was to create something awesome like guys from BBCR Engineering (http://www.bbcrengineering.com/bbcr507.html). I am not a photoshop expert but I crafted a final version of my bike. A part from here, a part from there and you have a virtual bike.
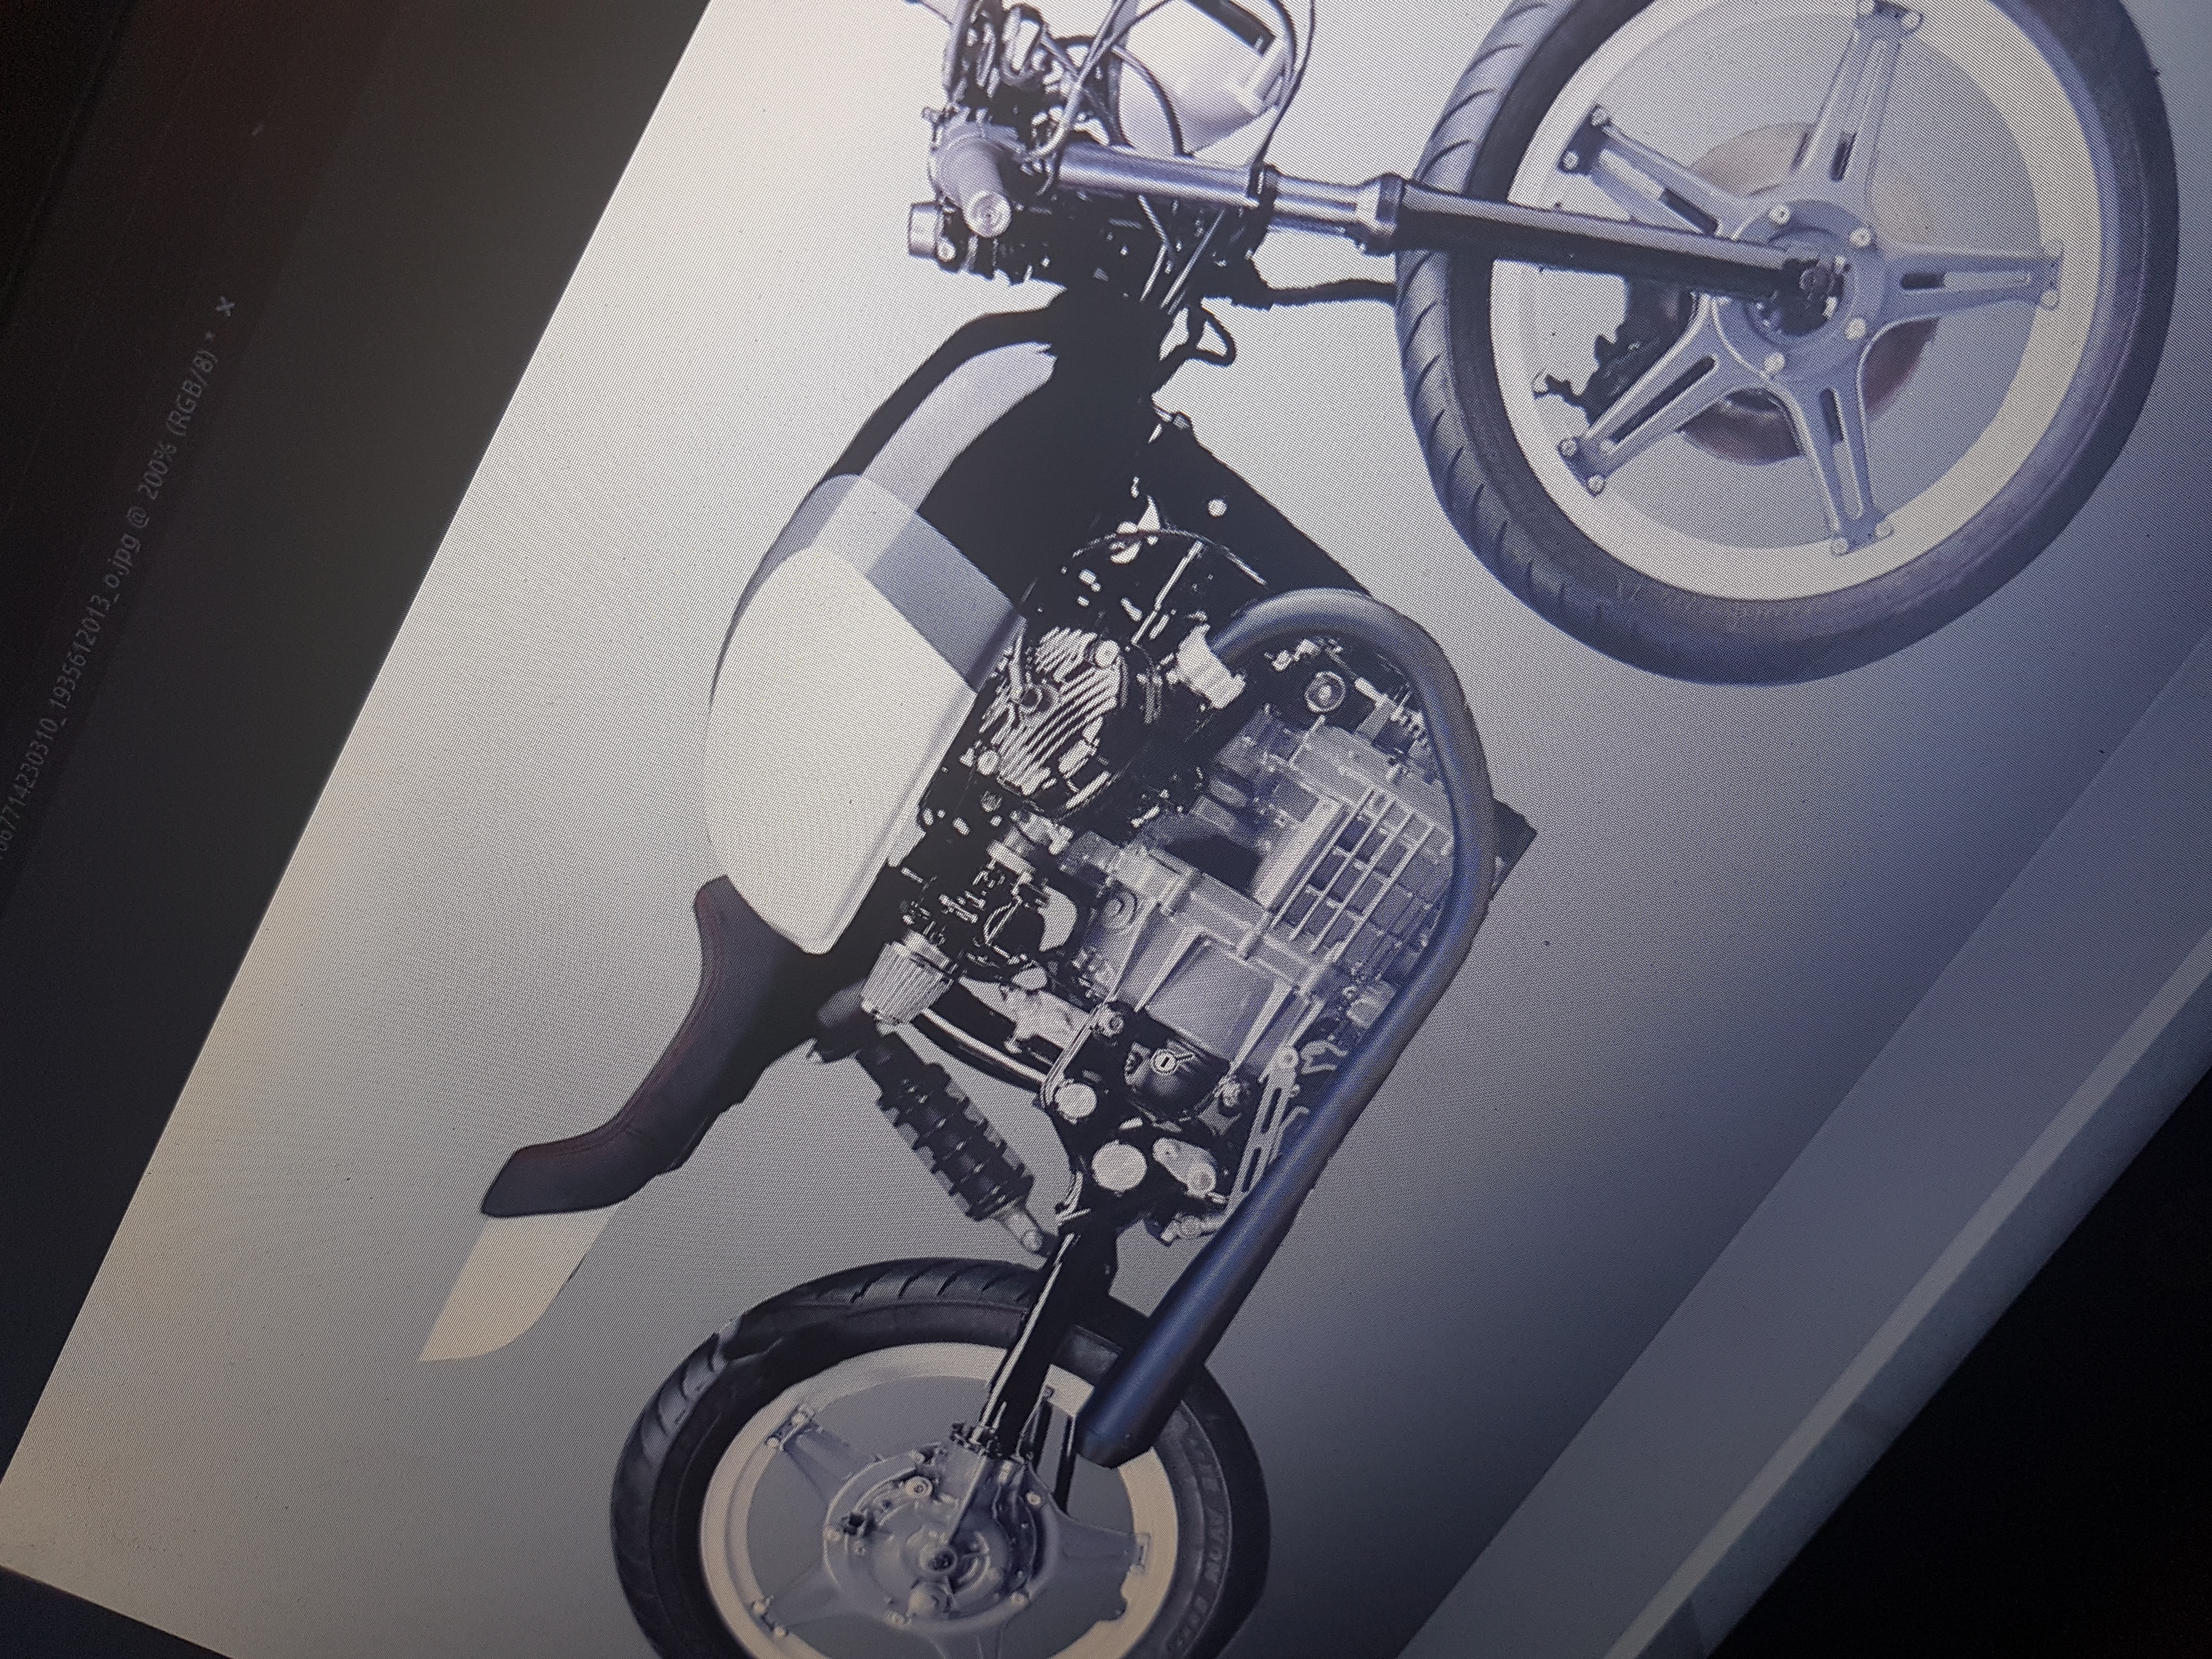
This is what I had in mind and it will be awesome. But am I even allowed to do this, I mean, guys did it, but they are not riding in Germany? Reconstructing the stereo shocks to mono-shock? Better I ask some officials and in the meantime, as I am waiting for the appointment I can strip the bike down. It will be sexy, wet and awesome action.
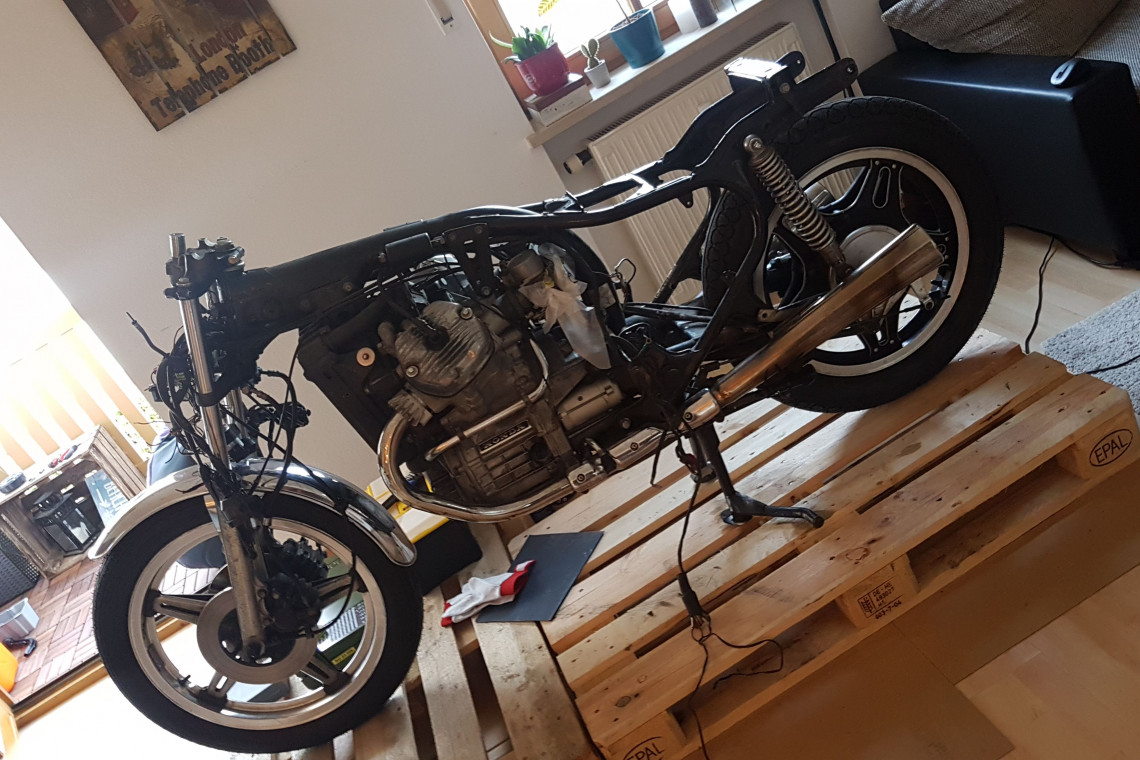
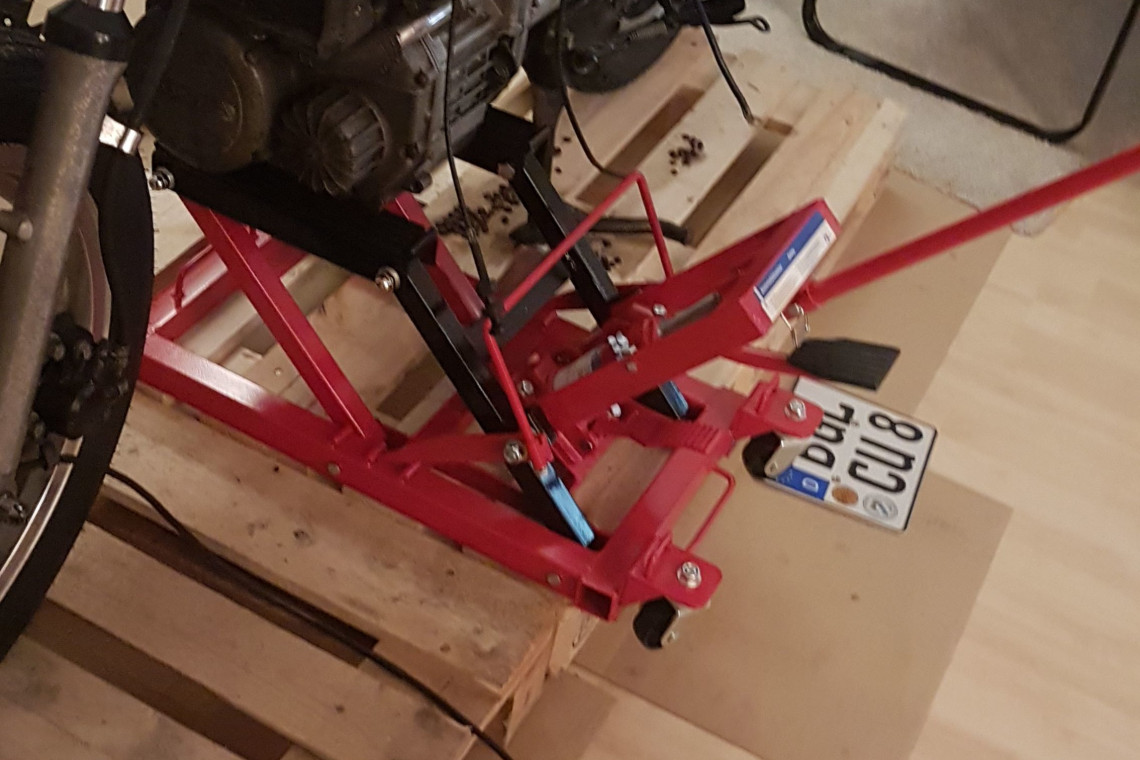
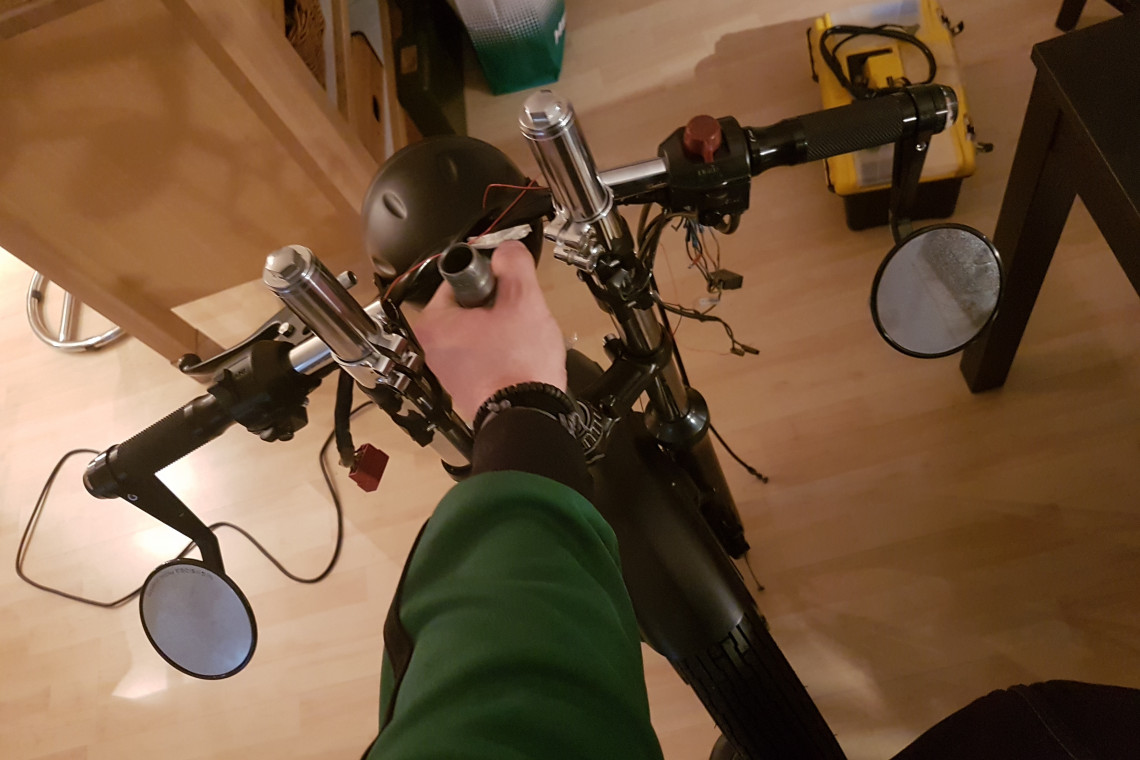
This action is actually very easy and what I can notice it is important to take a lot of photos and make a bunch of videos. It doesn't matter if for your own album or maybe later in some stage of rebuilding. After a few hours and beers, I noticed gasoline smell all over the room (it is my favorite perfume actually), but as I am getting the guests from time to time to neutralize the smell I used baking soda and coffee beans. It really helps (thanks Darla for the advice). A further plan is to take the engine to the balcony for the cleaning and disassembling and the rest to the bathroom (it a joke Jeff, the rest goes to the basement, garage or stays in the room). And striping is done actually and I can easily go to the next phase and this is cleaning and sorting the parts.
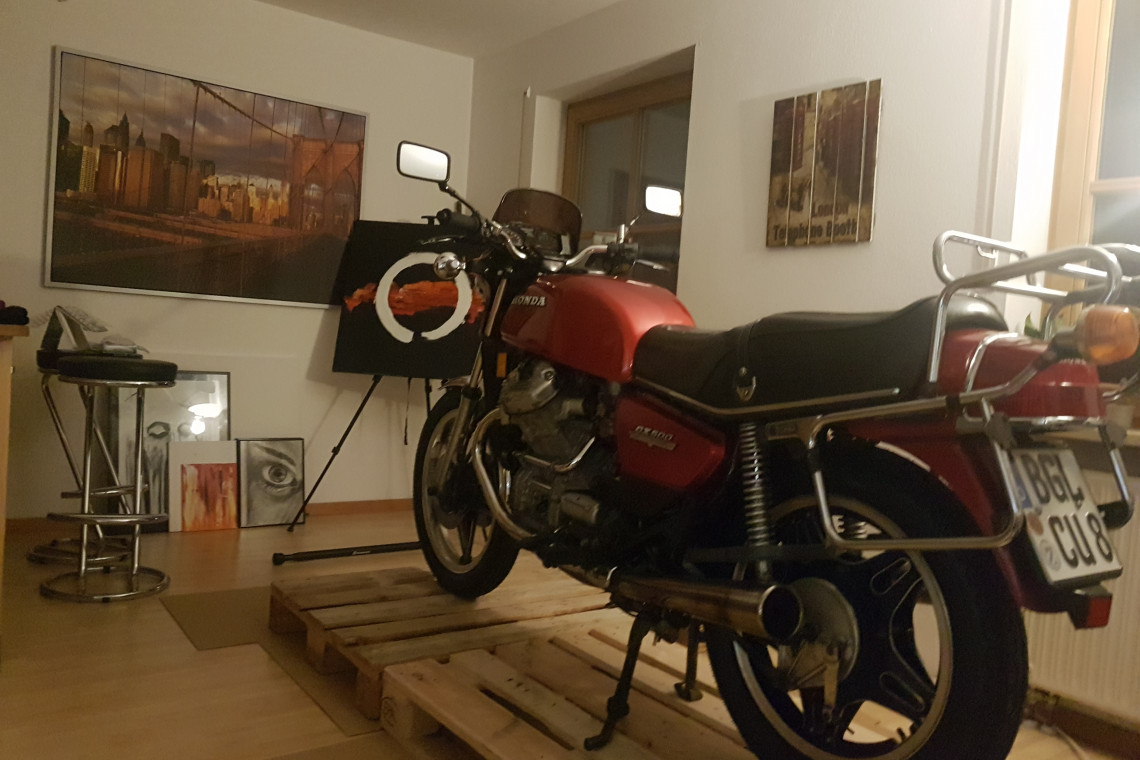
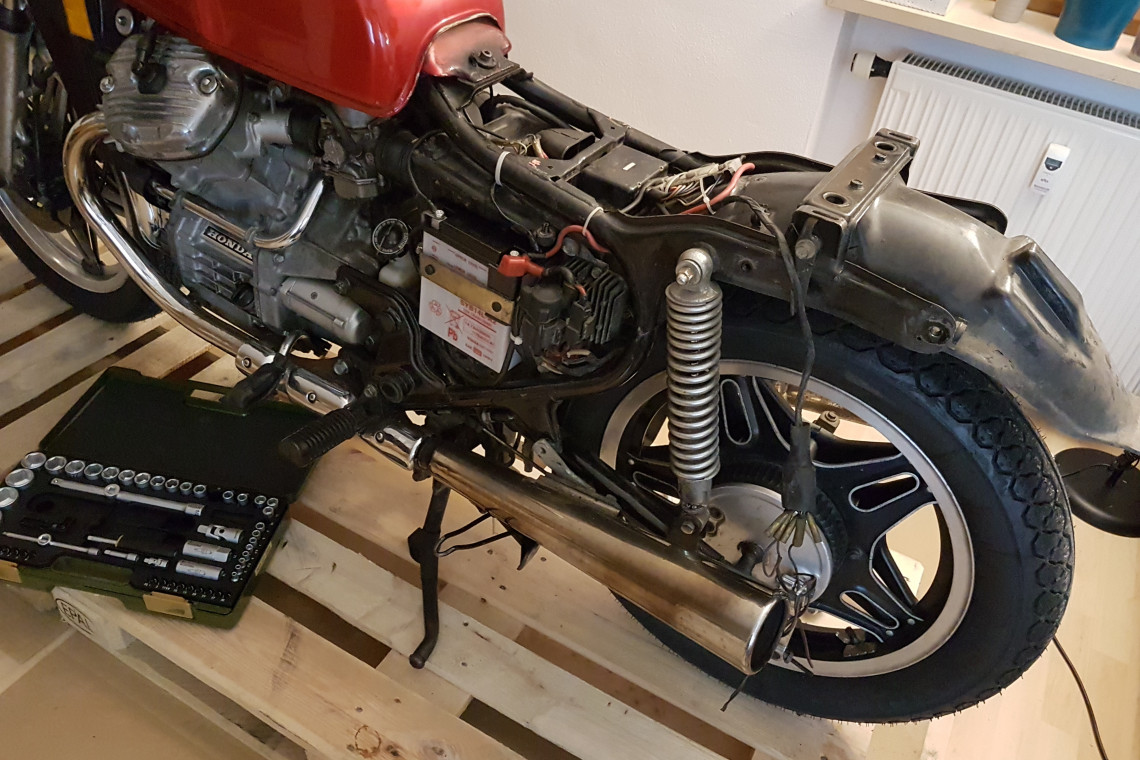
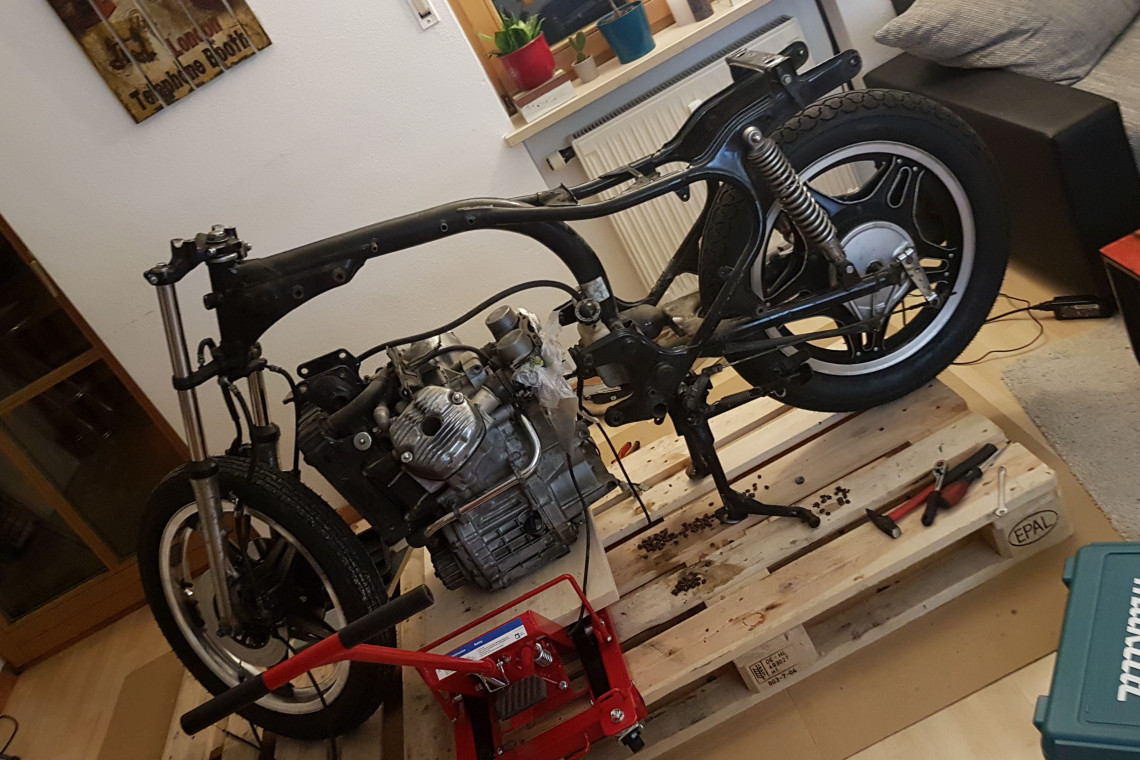
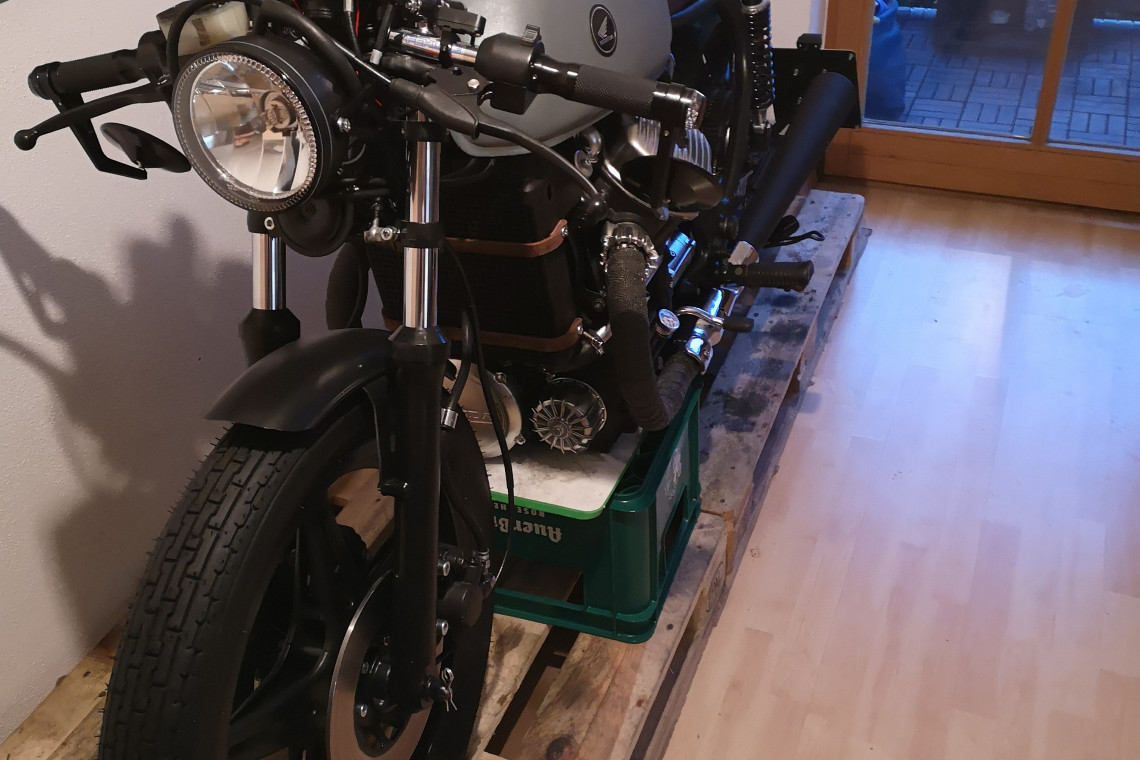
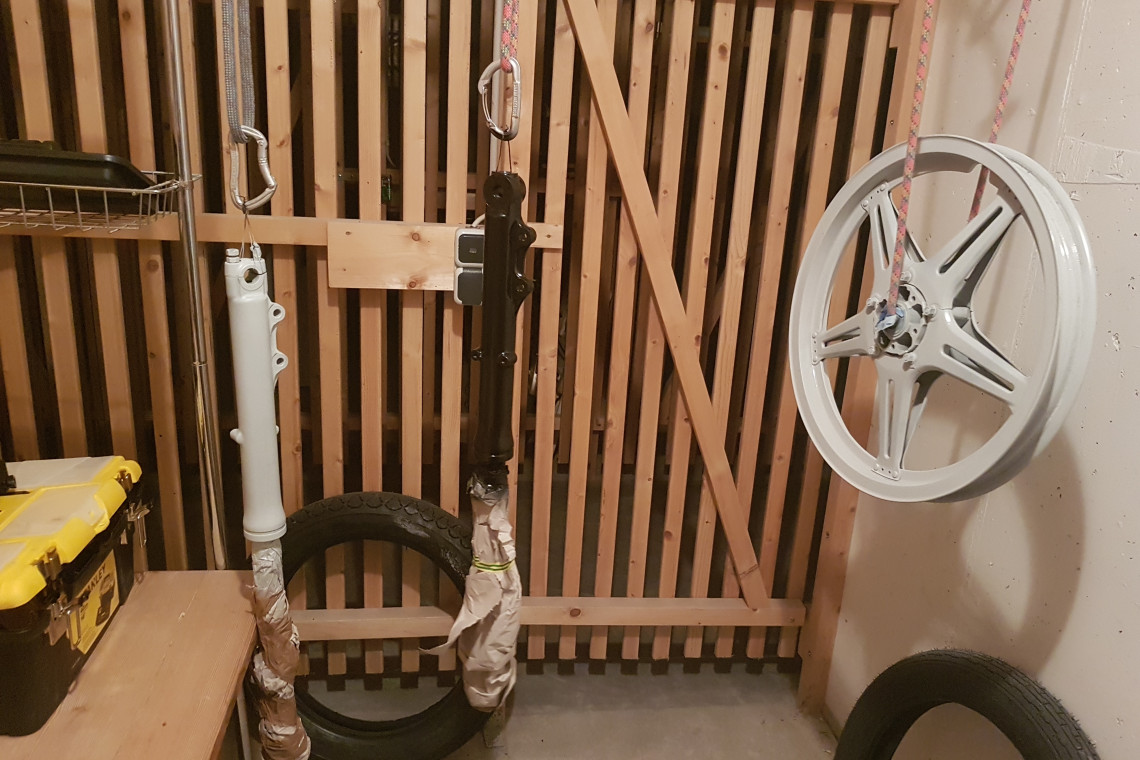
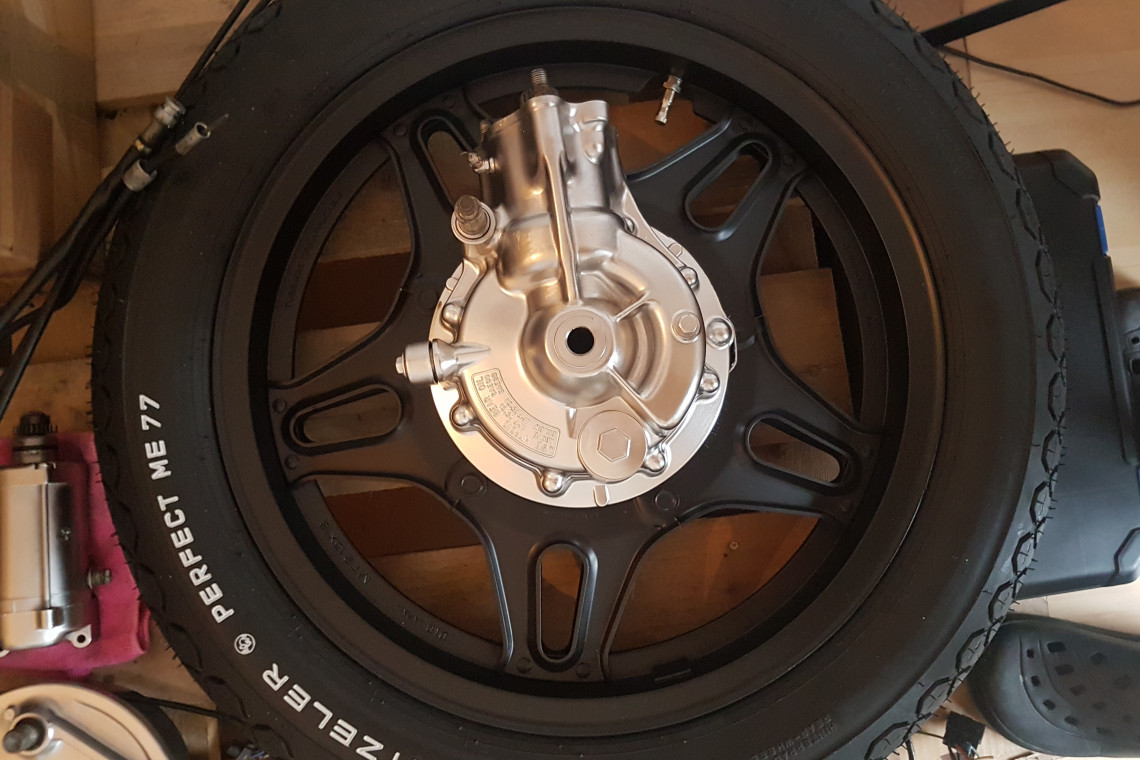
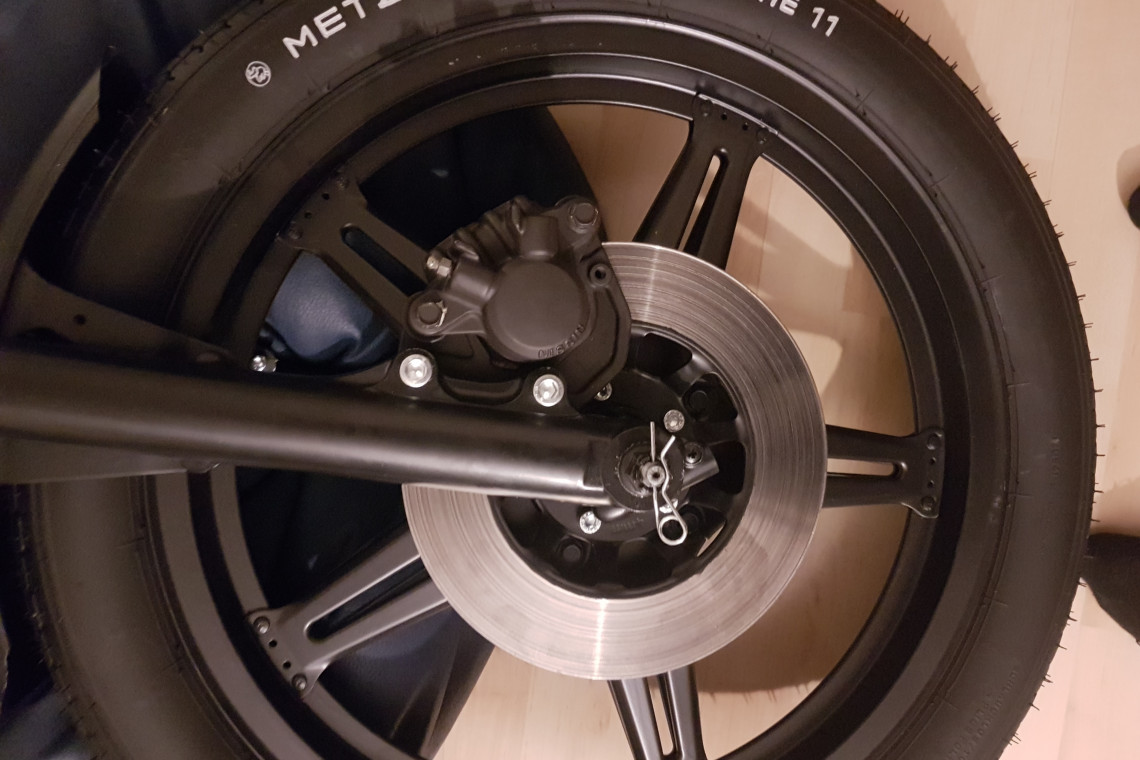
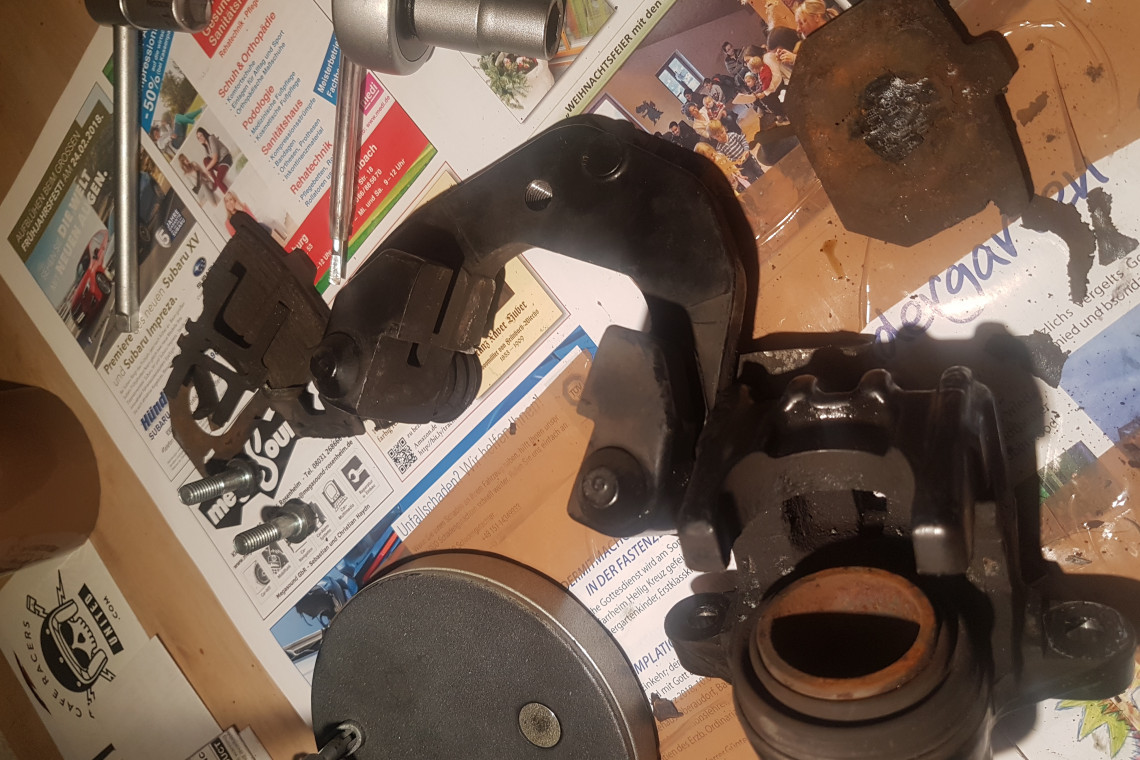
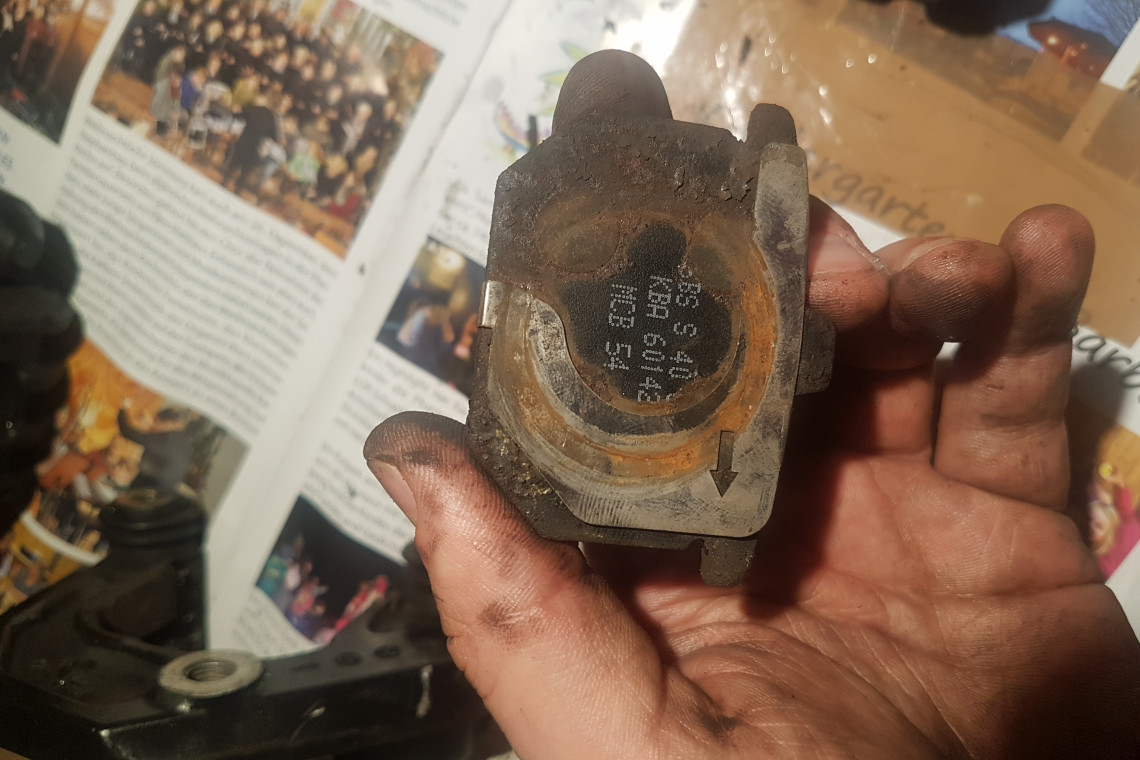
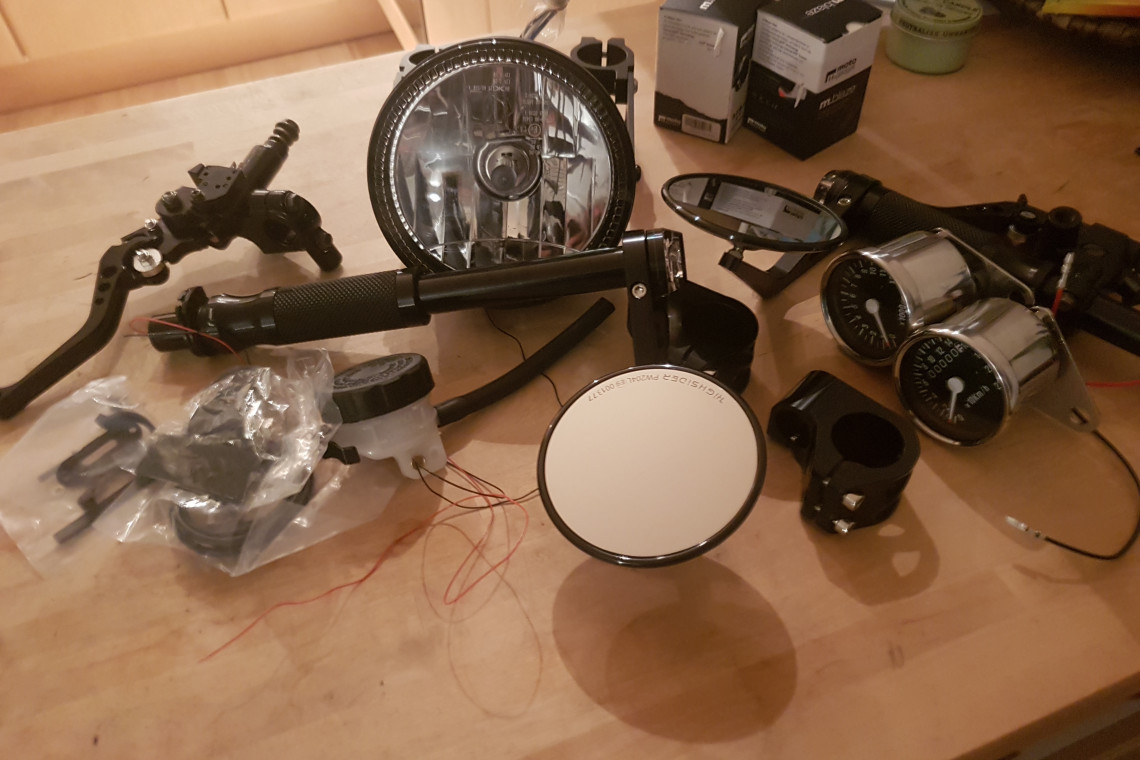
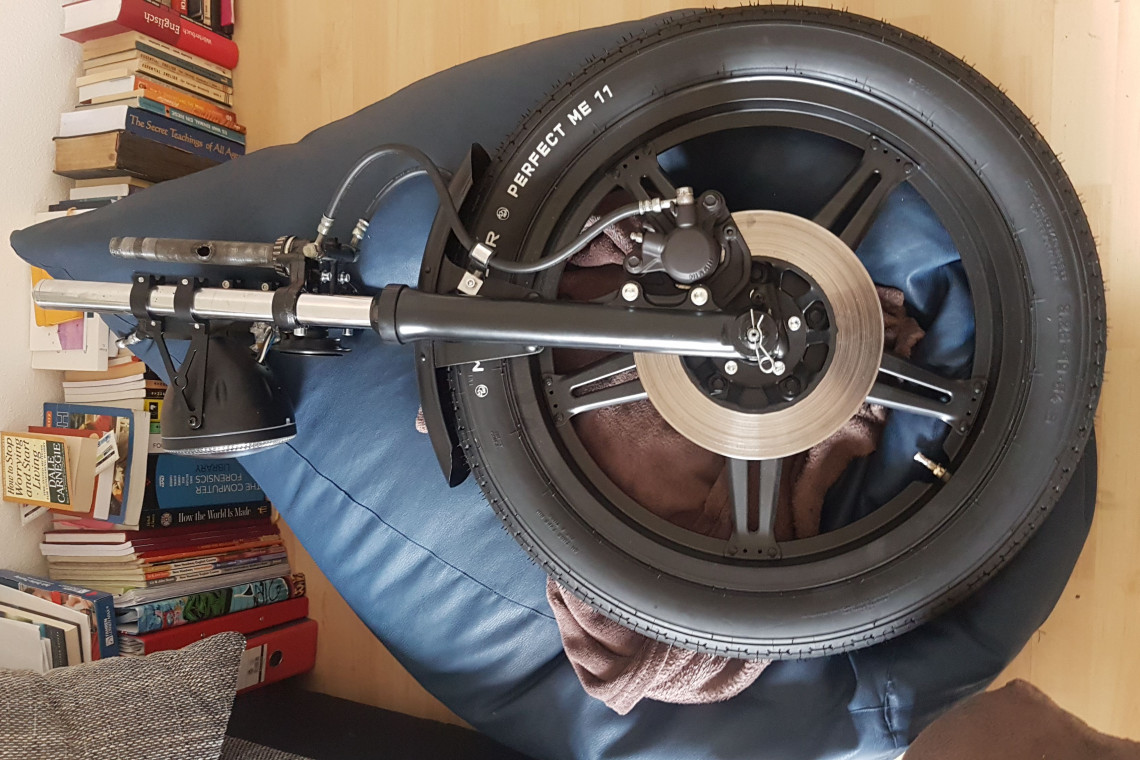
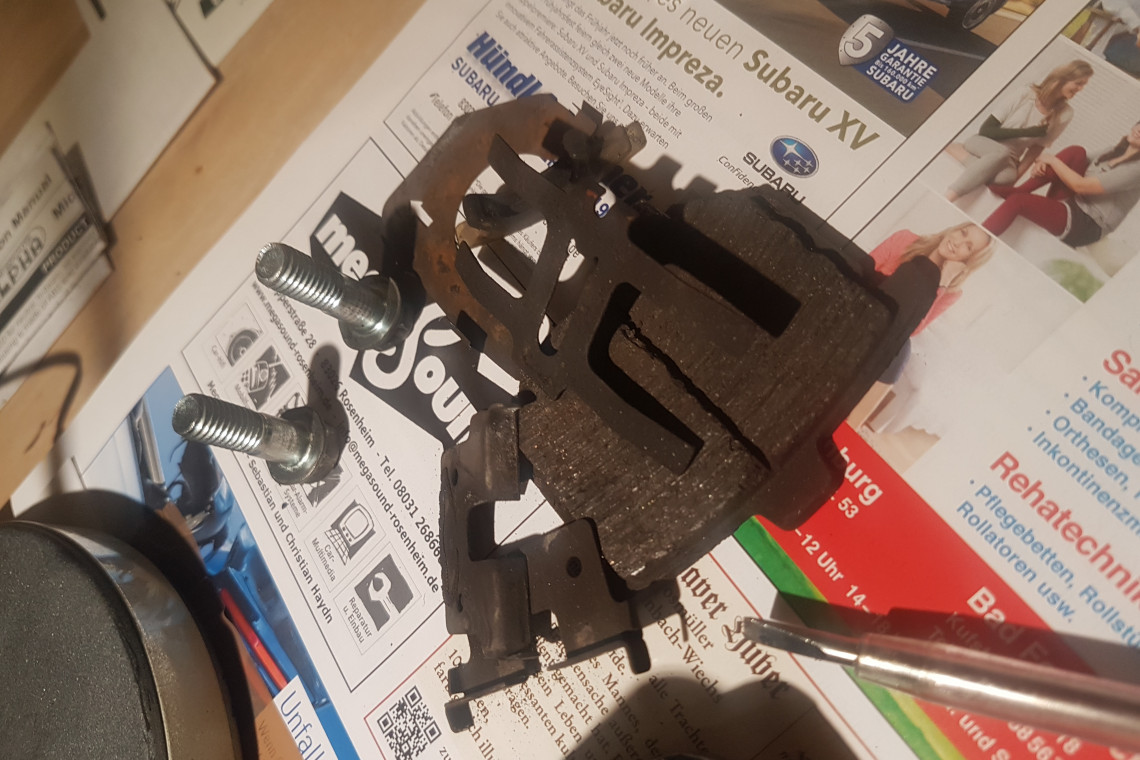
This is a very important task because you want to know which parts you can keep and use it for the build or sell it. As long I am waiting for the final design I will do the cleaning job. I will start with the forks and wheels. Standard procedure, cleaning, degreasing, sanding, priming, and painting. The color will be black mat and I will keep the tires because there did just a few kilometers until now. The forks will be also black mat and the plan is to change the fork oil, new springs will come next winter. I have also cleaned the brakes, calipers and ordered new parts for the front side of the bike. As you can see my Jolene is getting a new Skyline headlight with LED ring, new Motogadget indicators which will be mounted into the 'made in china' handlebars, Rizoma griffs, made in china levers and new tacho units.
Finally a meeting with the officials. I was totally prepared for this. I printed all the german street laws, the TÜV bike stuff, and all my wishes: list of parts, planned actions and frame modifications. Totally nerdy, I agree Karen, but it should be like this. I have this nerdy routine from school. Once learned can never be gone. After the meeting, I was pretty disappointed and sad. A mono-shock build is not allowed, china handlebars and levers neither. I was defeated and started to cry in the car on my way home.
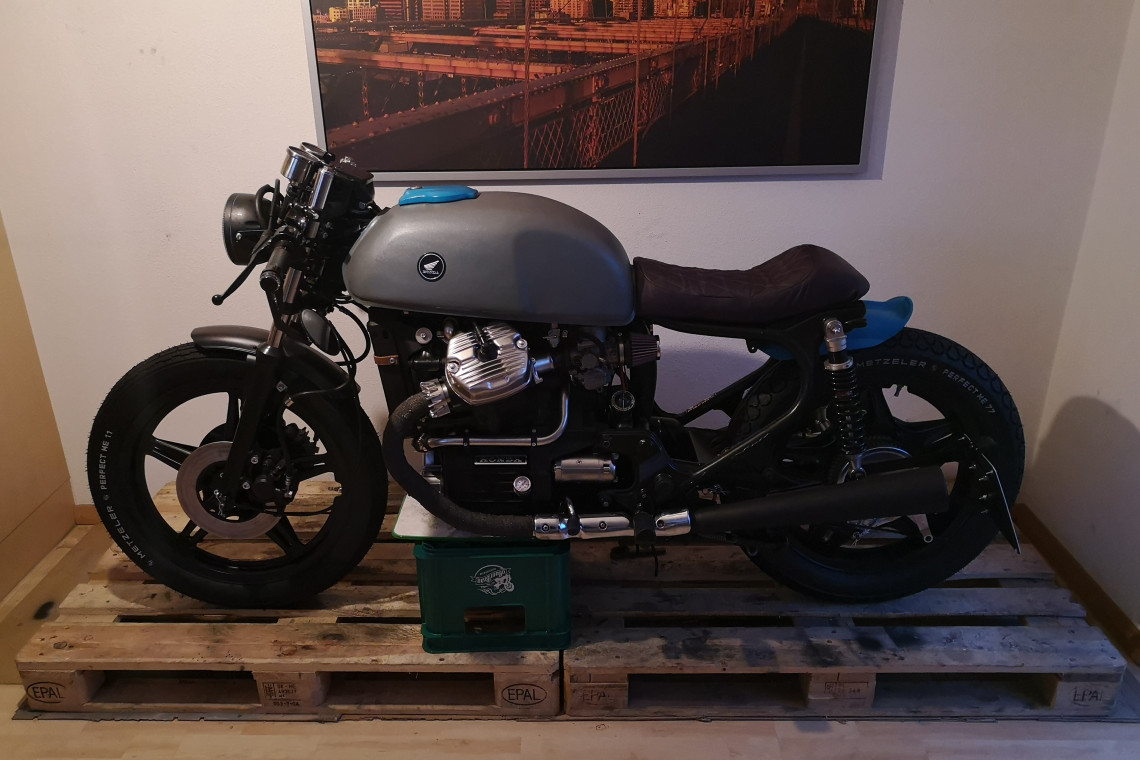
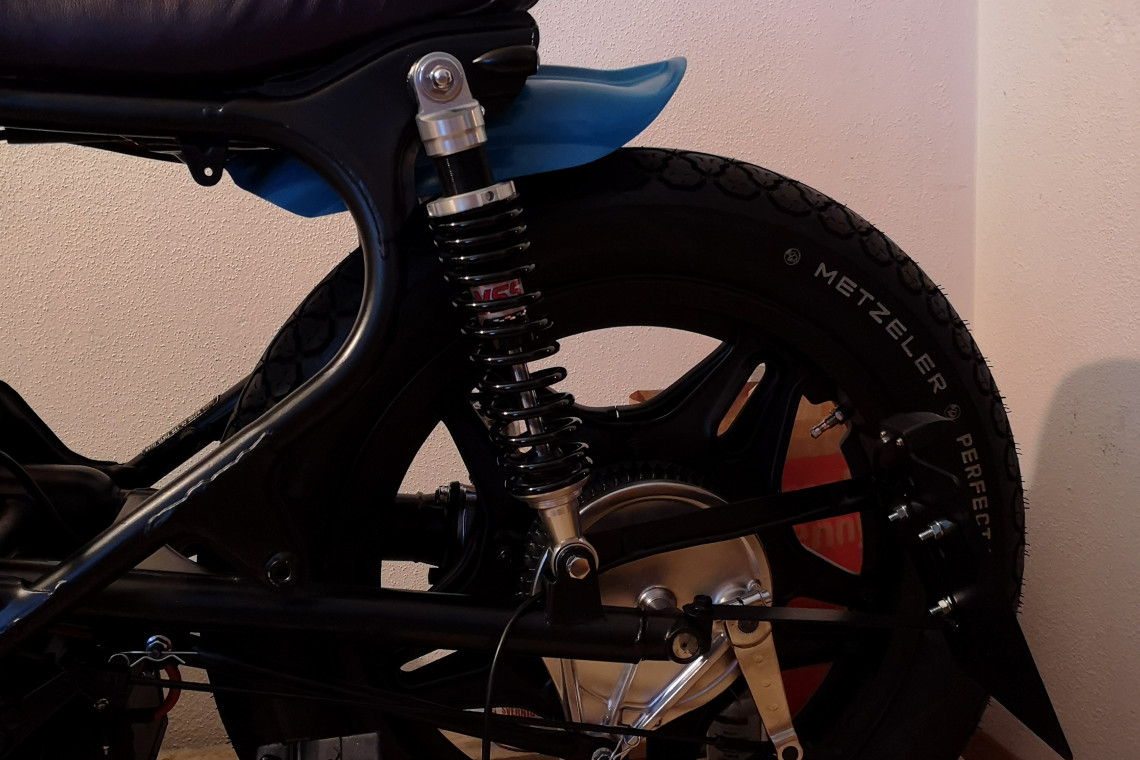
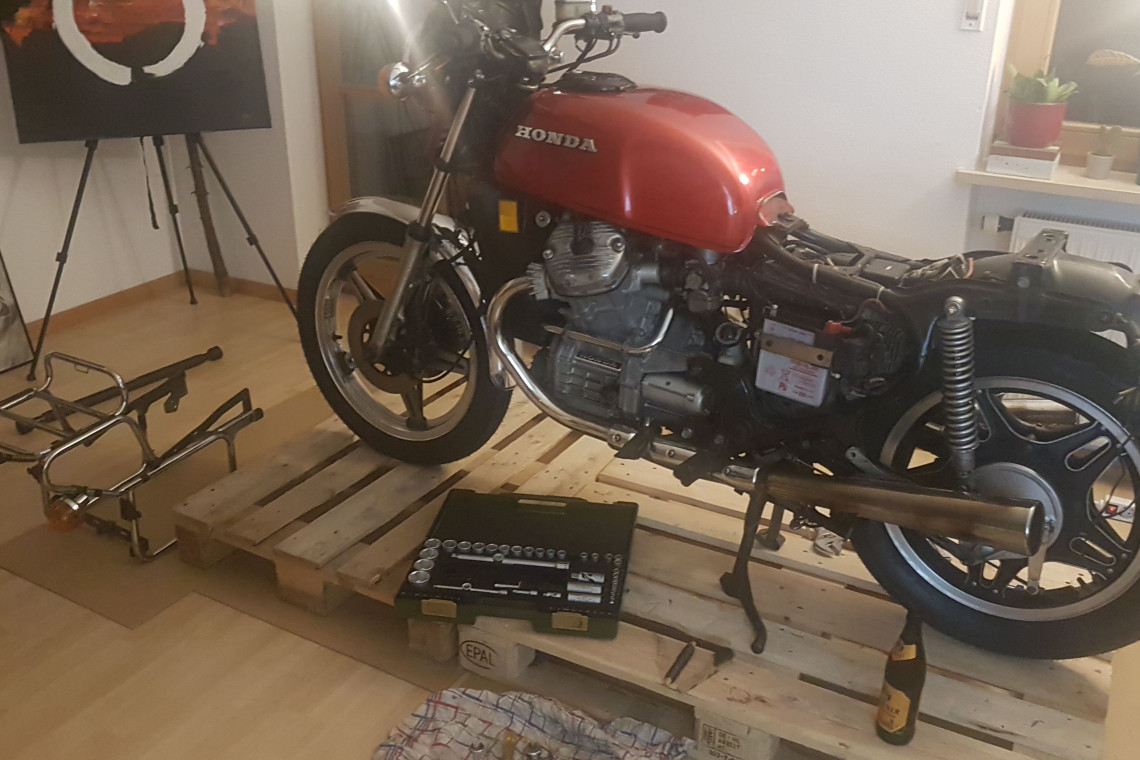
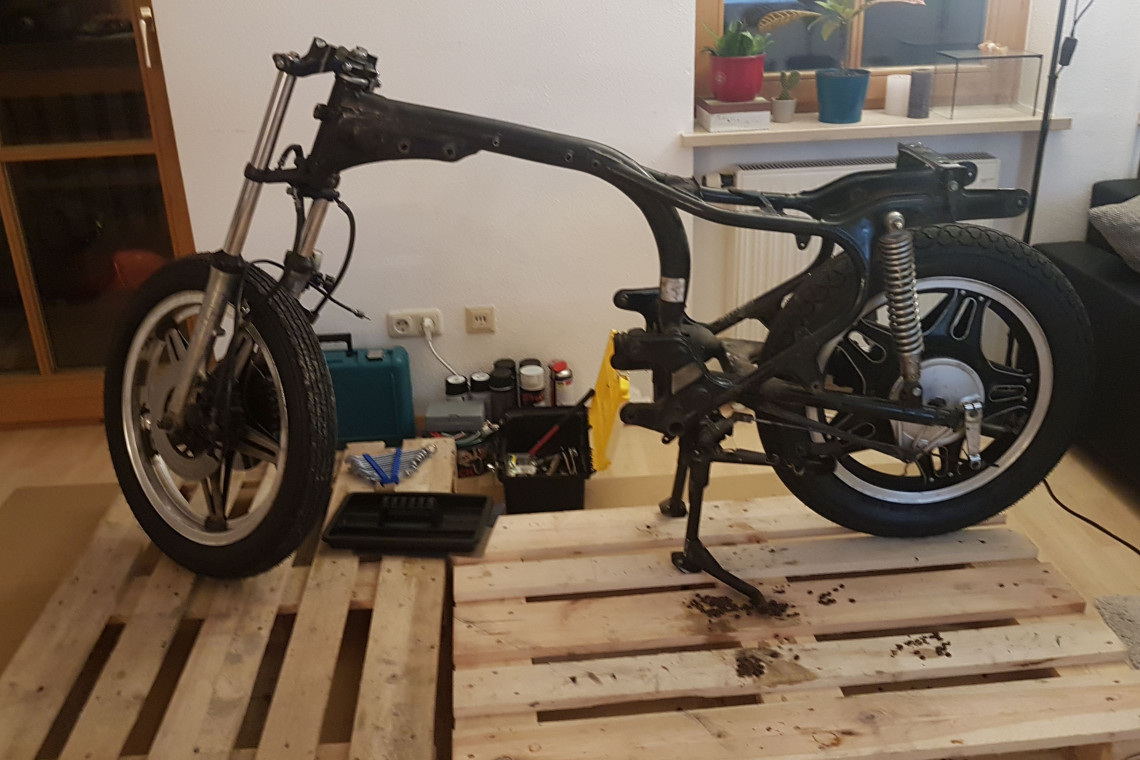
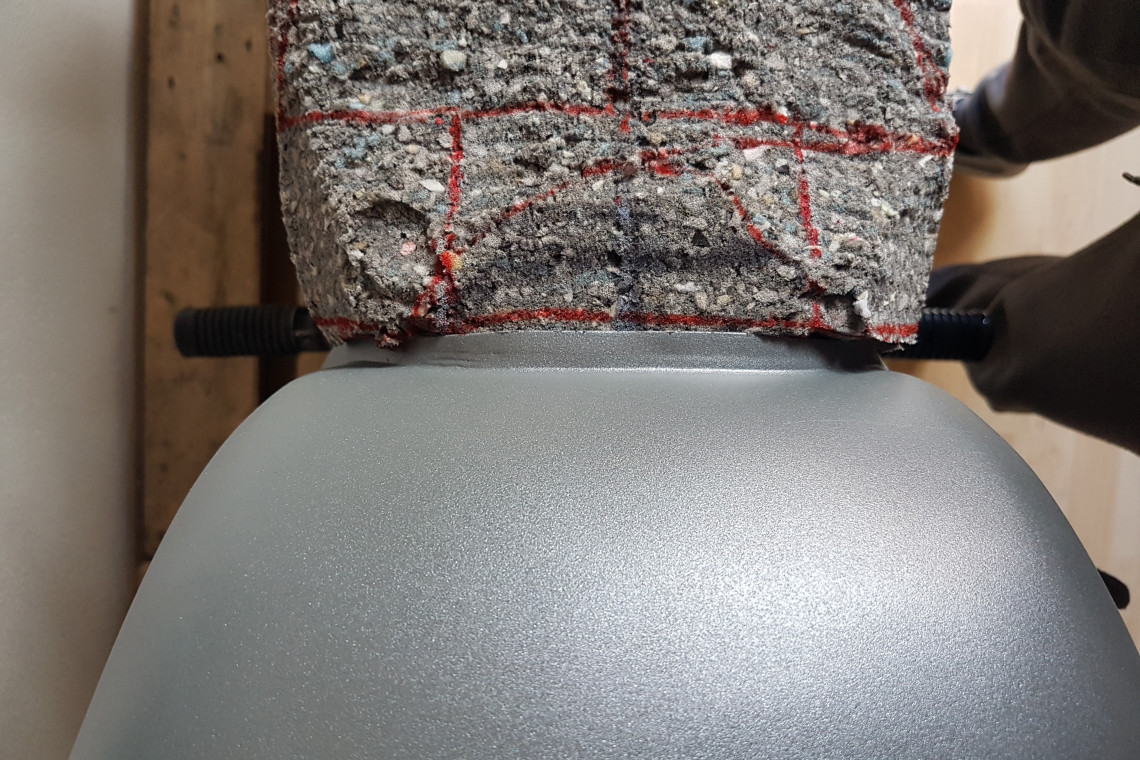
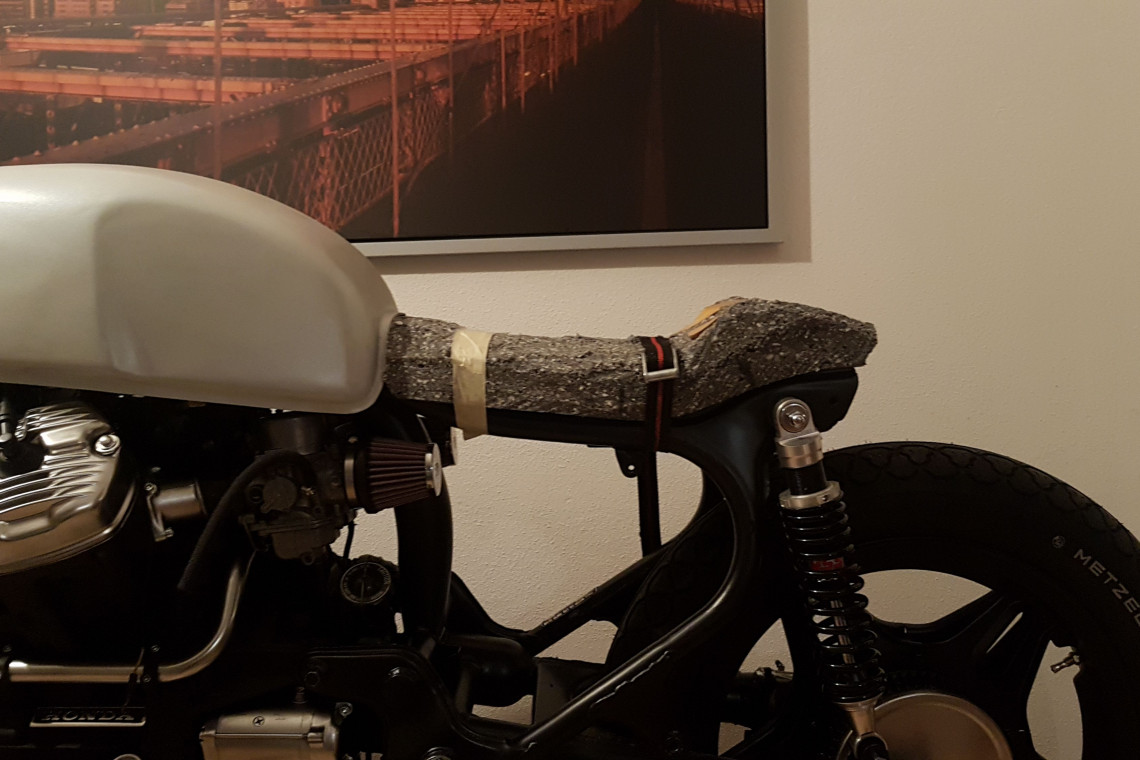
Let's re-plan the whole rear end, Why not to keep the stereo shocks and seat. It will be nice and more stable as mono. And especially less work. Wit a new YSS shocks and cut frame it will be awesome and I could find those builds all over Germany, so I am still legal, even with those modifications. The only problem I can notice here is the seat because the line is not straight. Handcrafted seat, Jeff? Am I capable of this? Youtube, google, investigate a little bit my dear friend, and you can do everything in the whole damn universe. My new plans are as follows: cut the frame, weld the bridge between the each side of cutted frame (?, better see the gallery) for the reinforcement, buy shocks, foam for the seat and design the rear end.
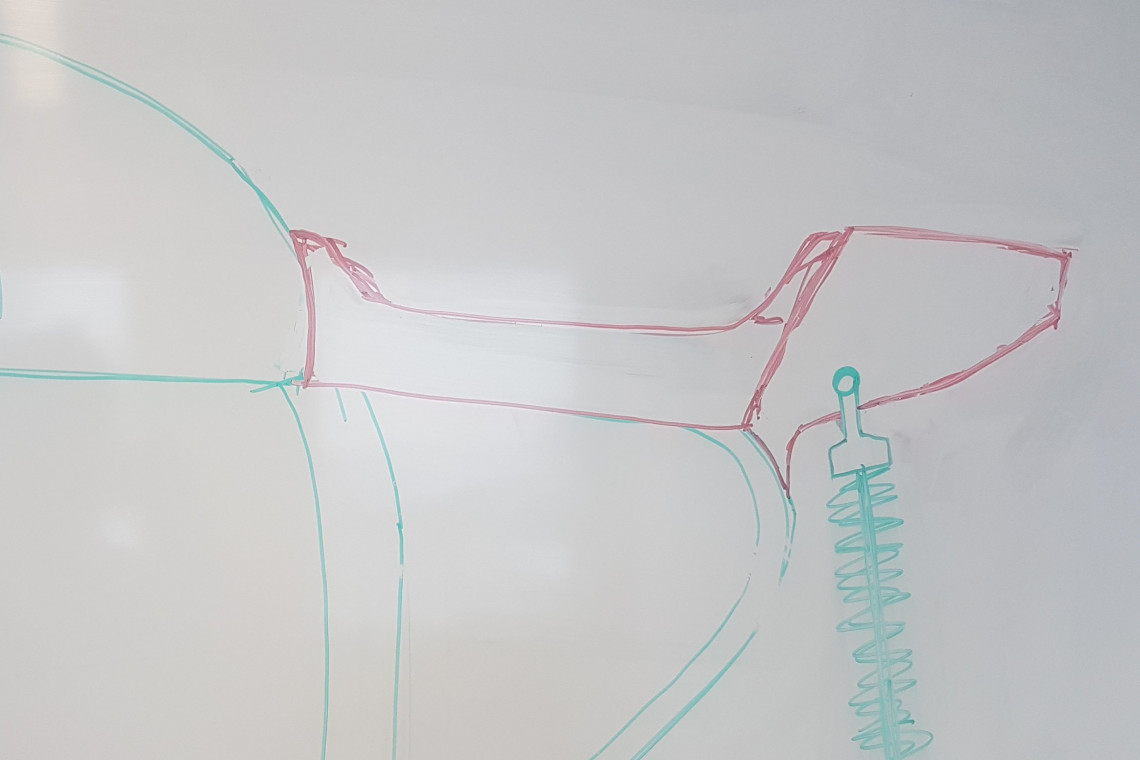
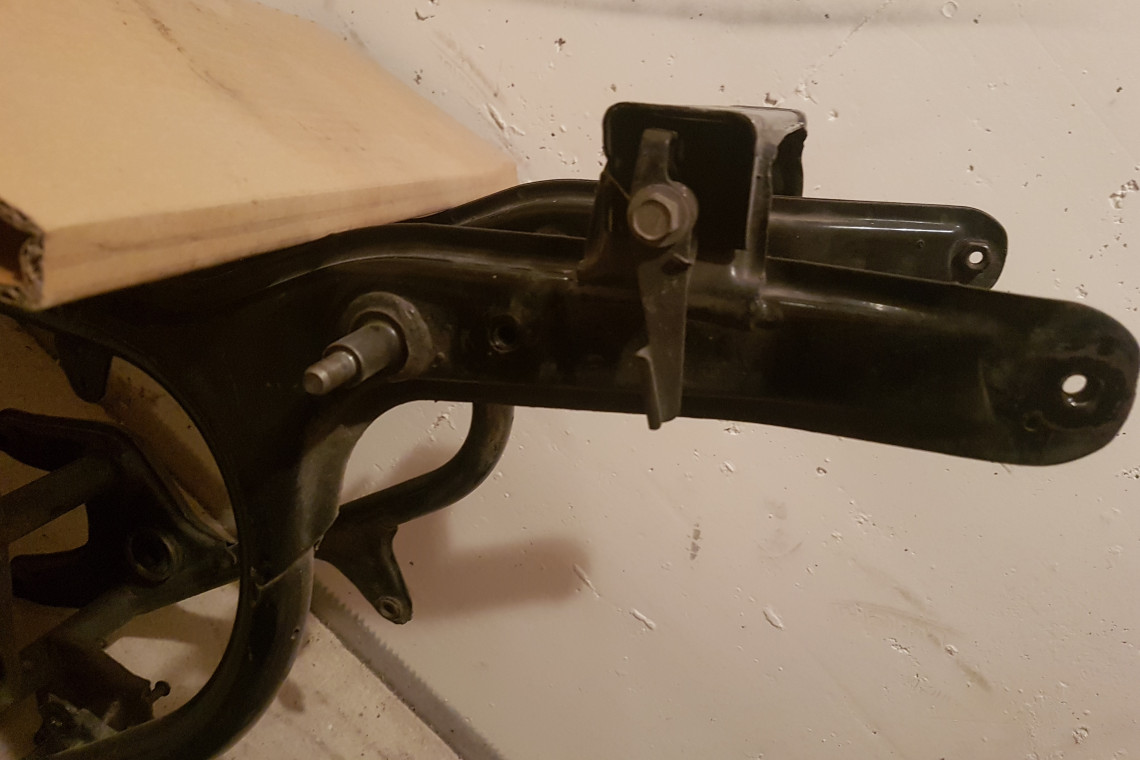
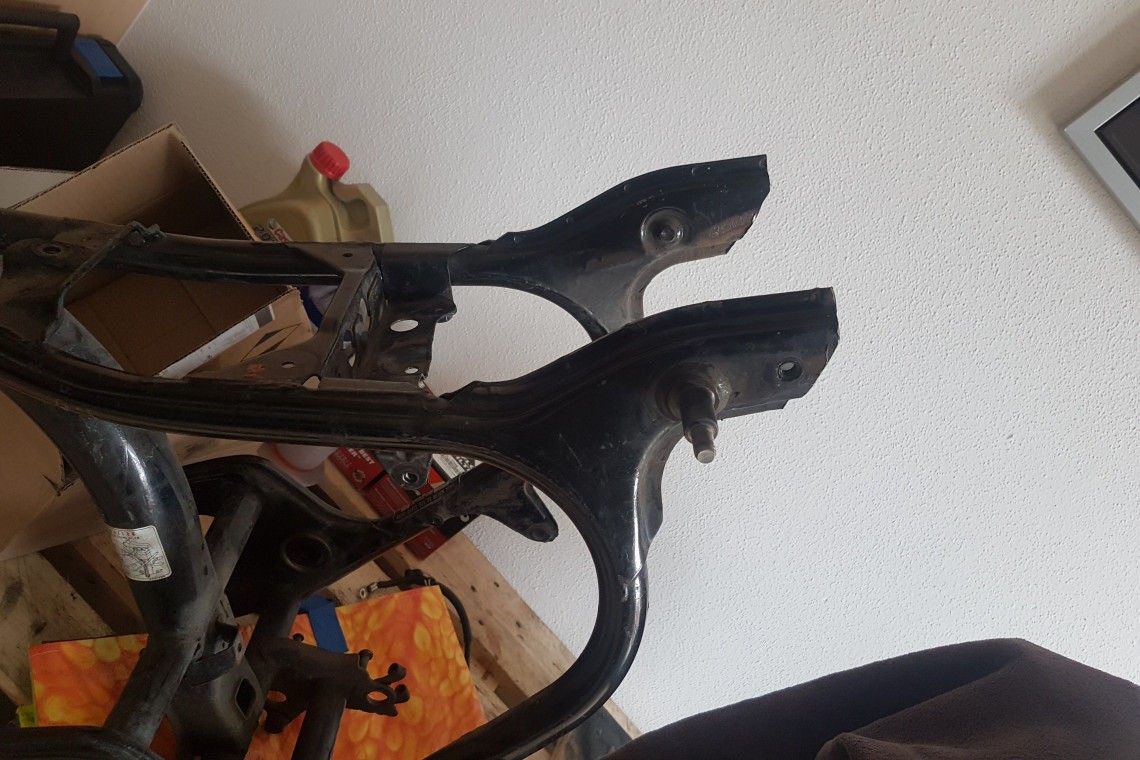
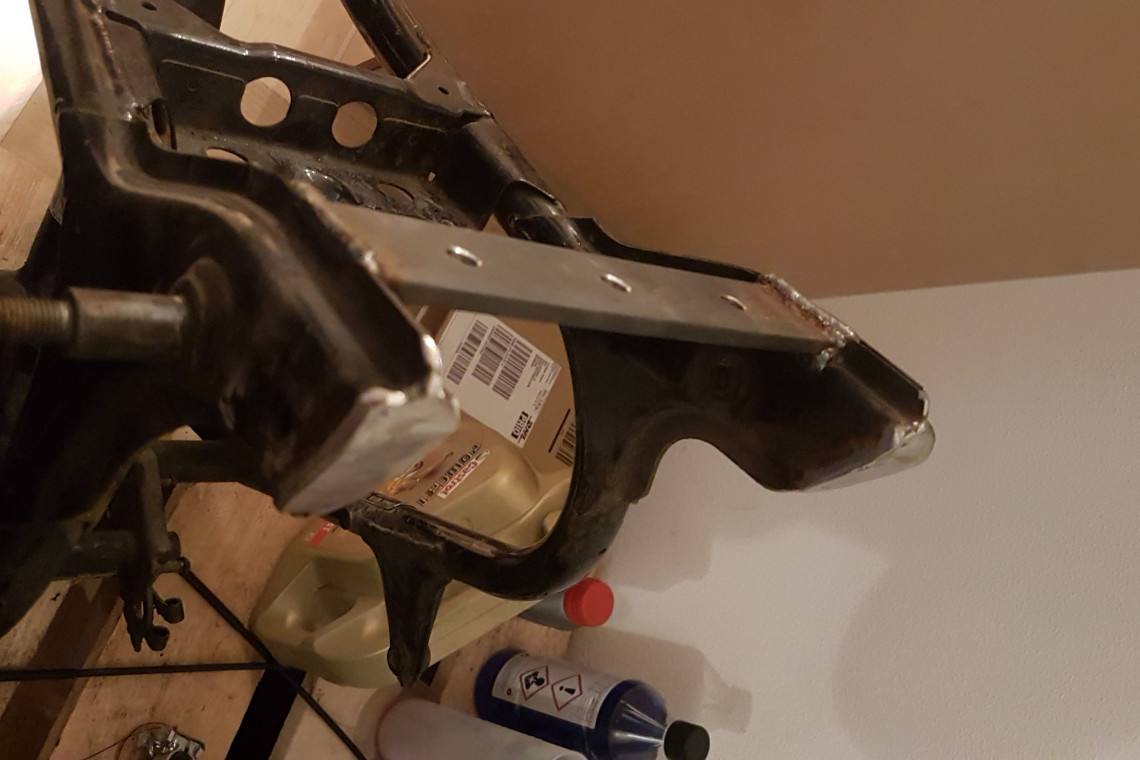
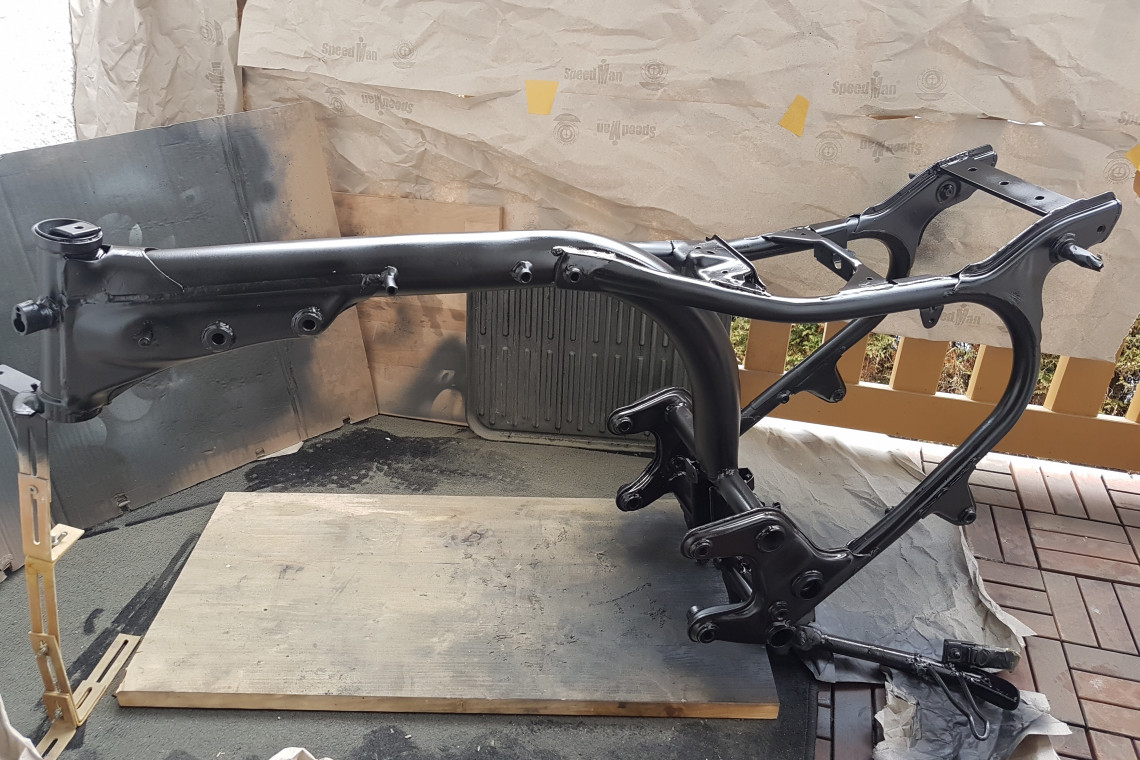
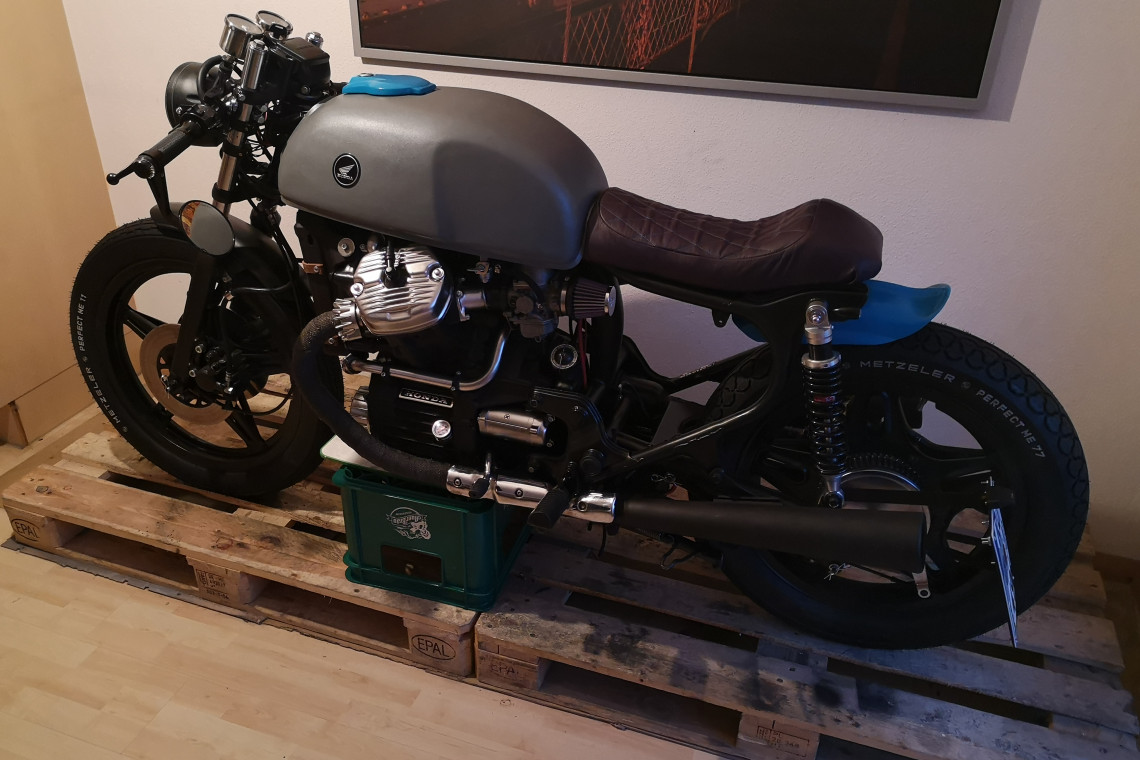
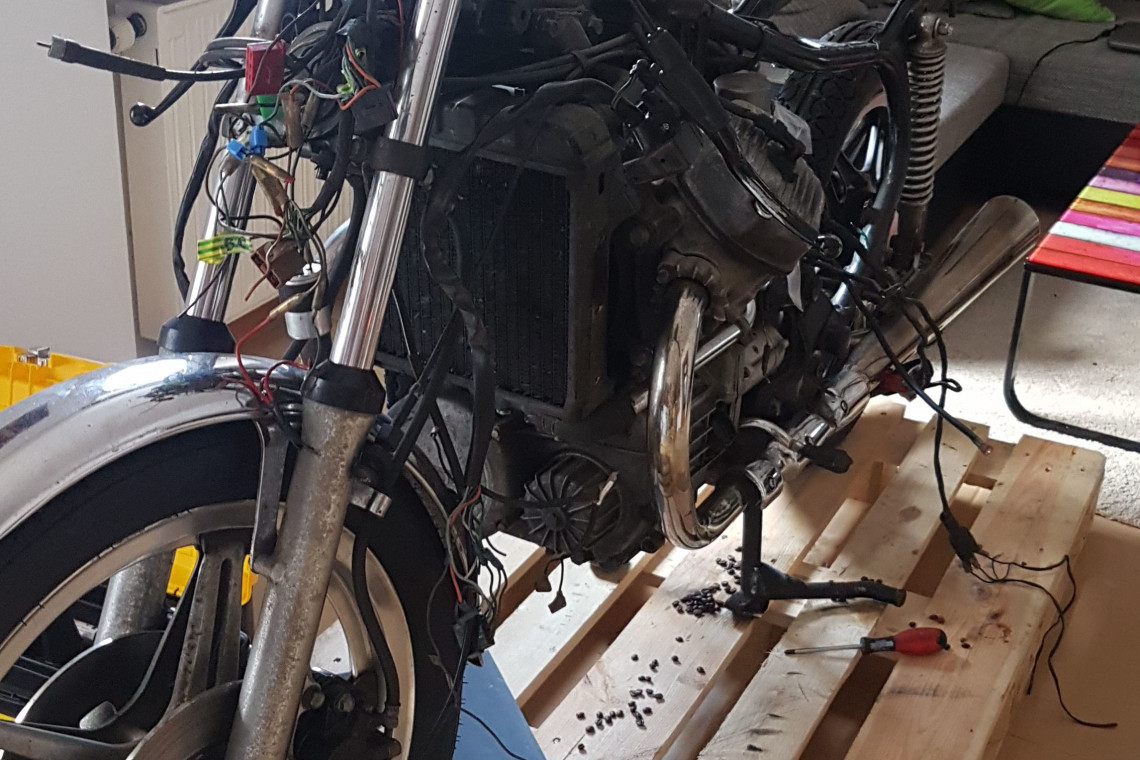
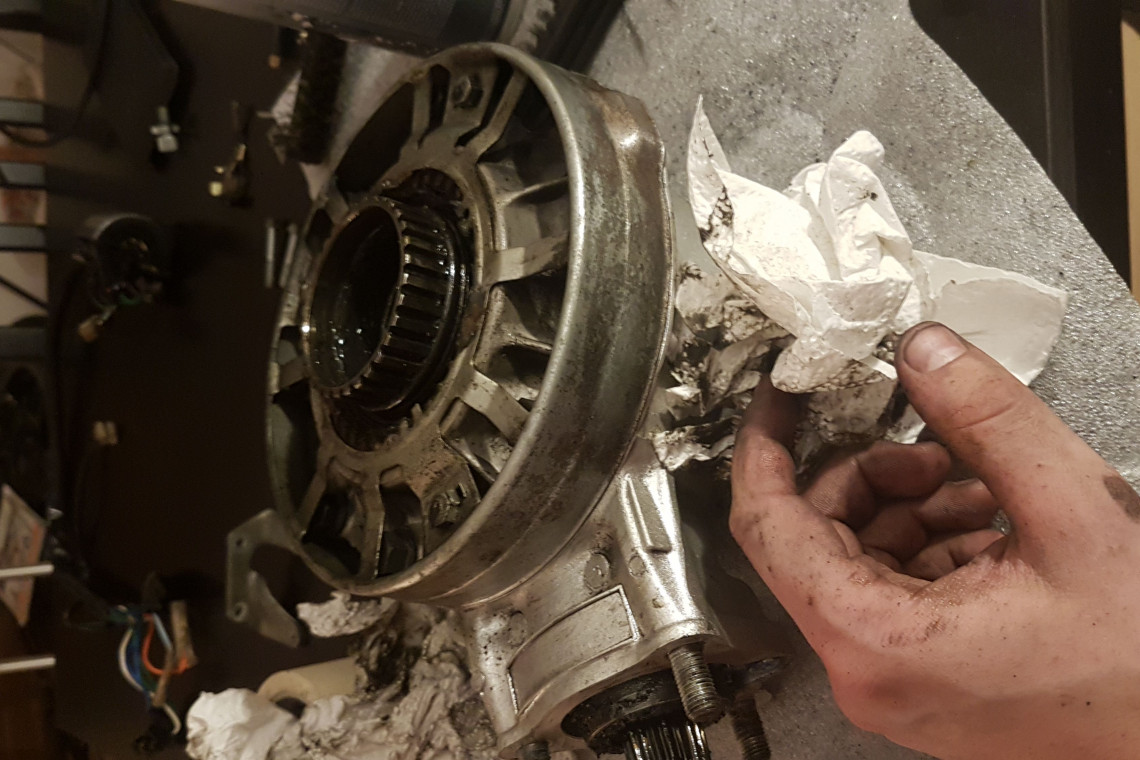
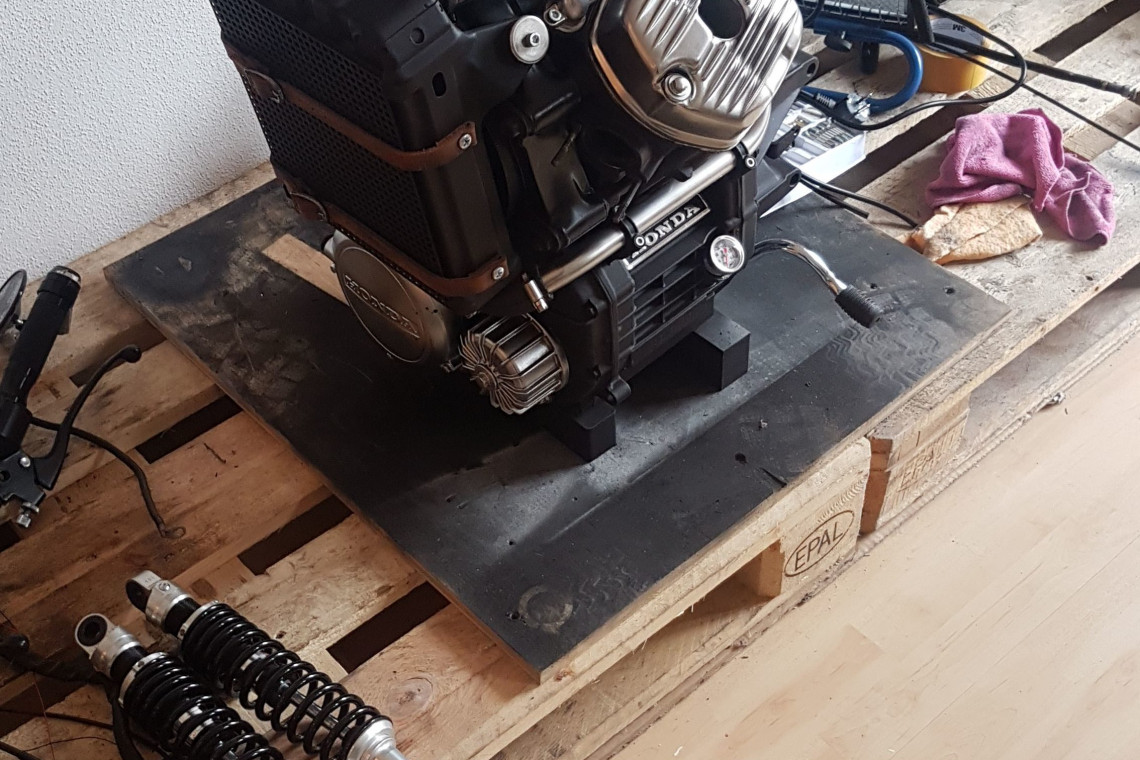
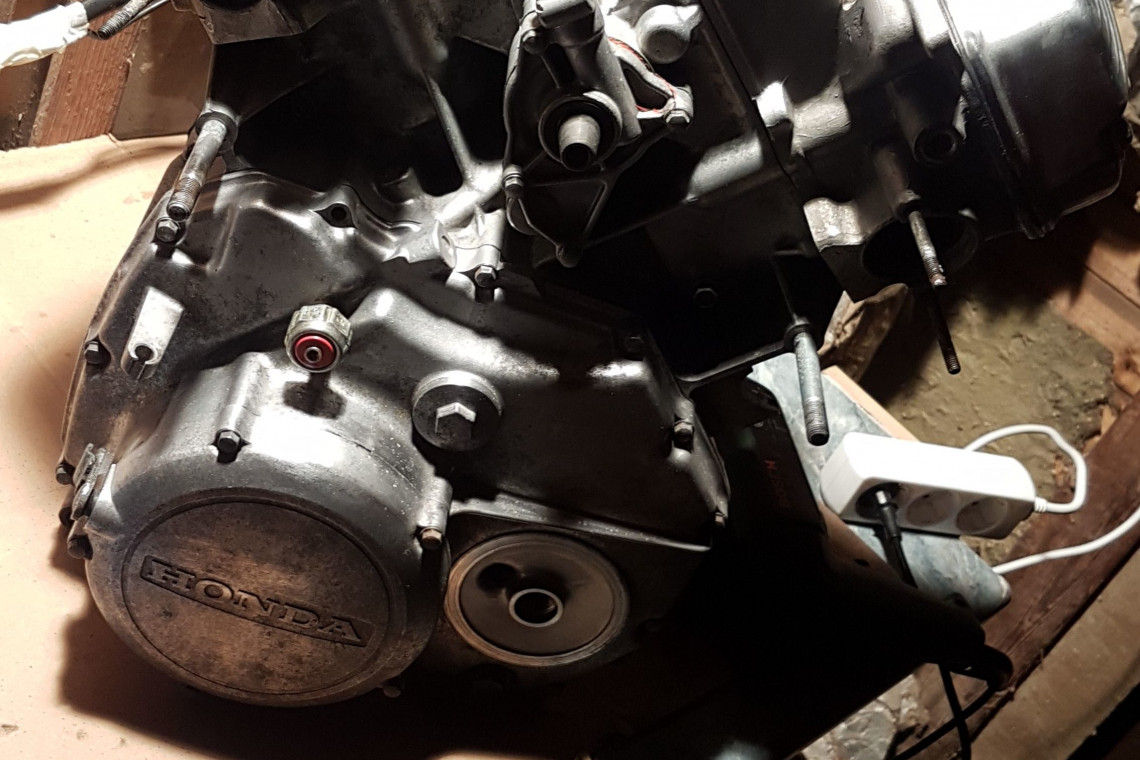
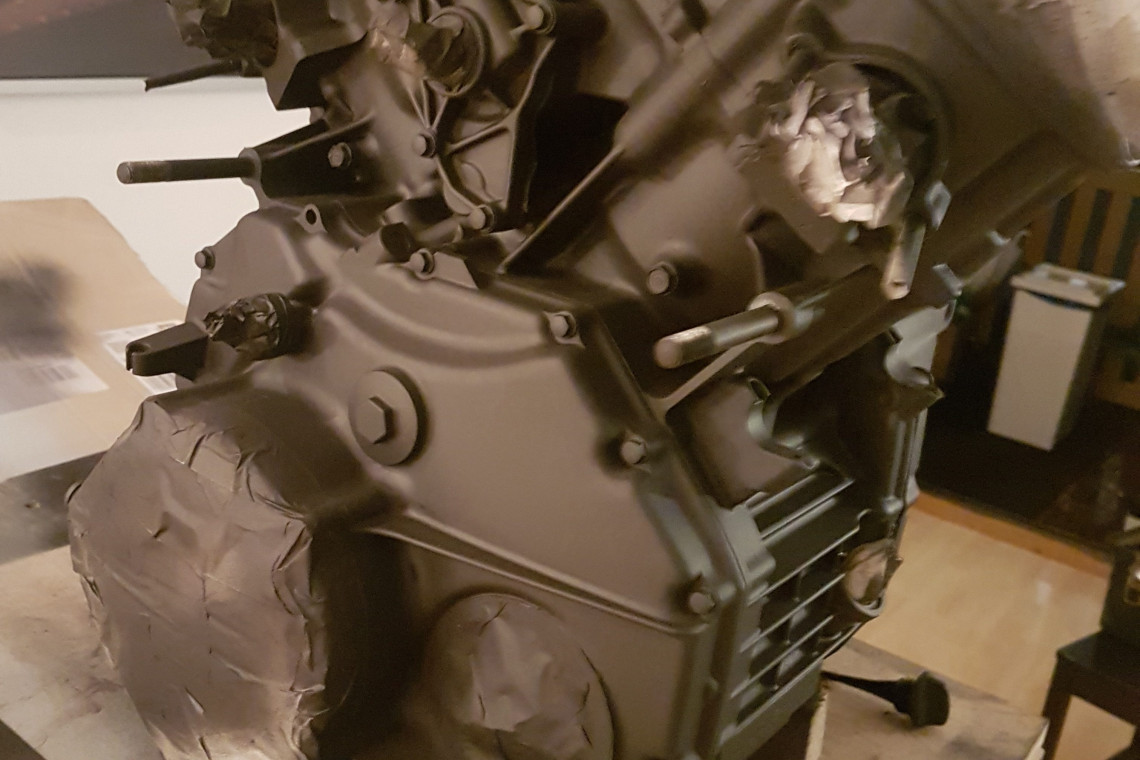
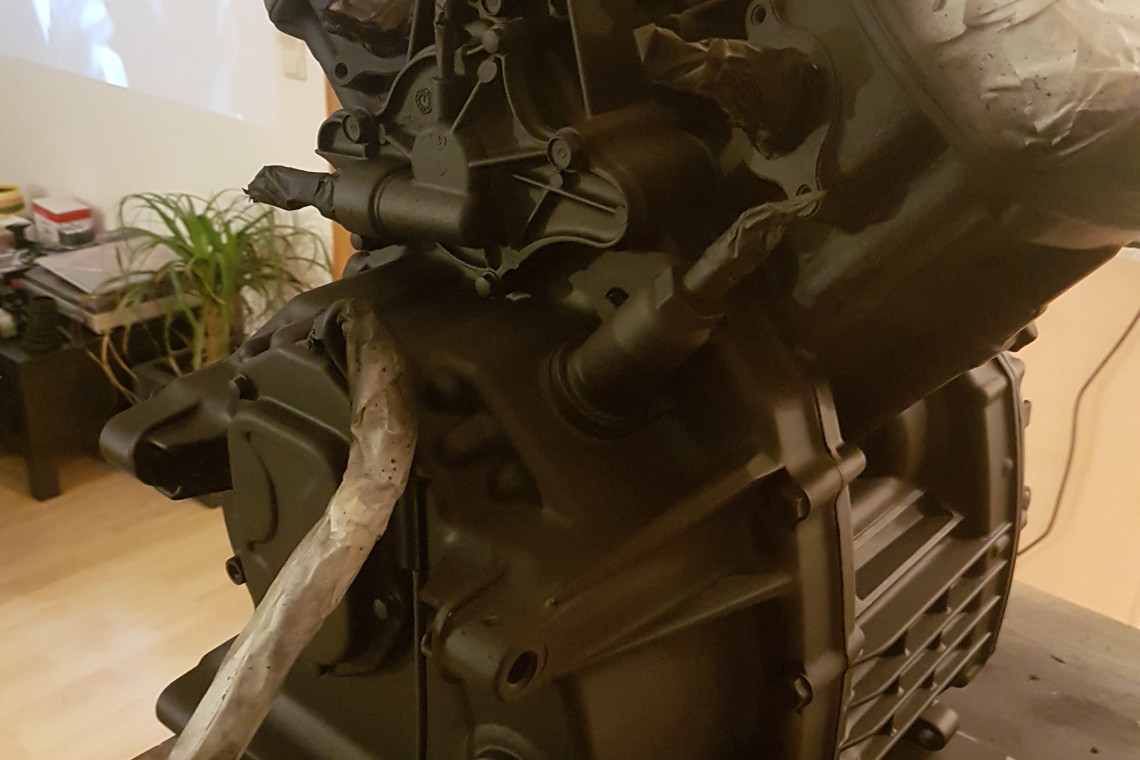
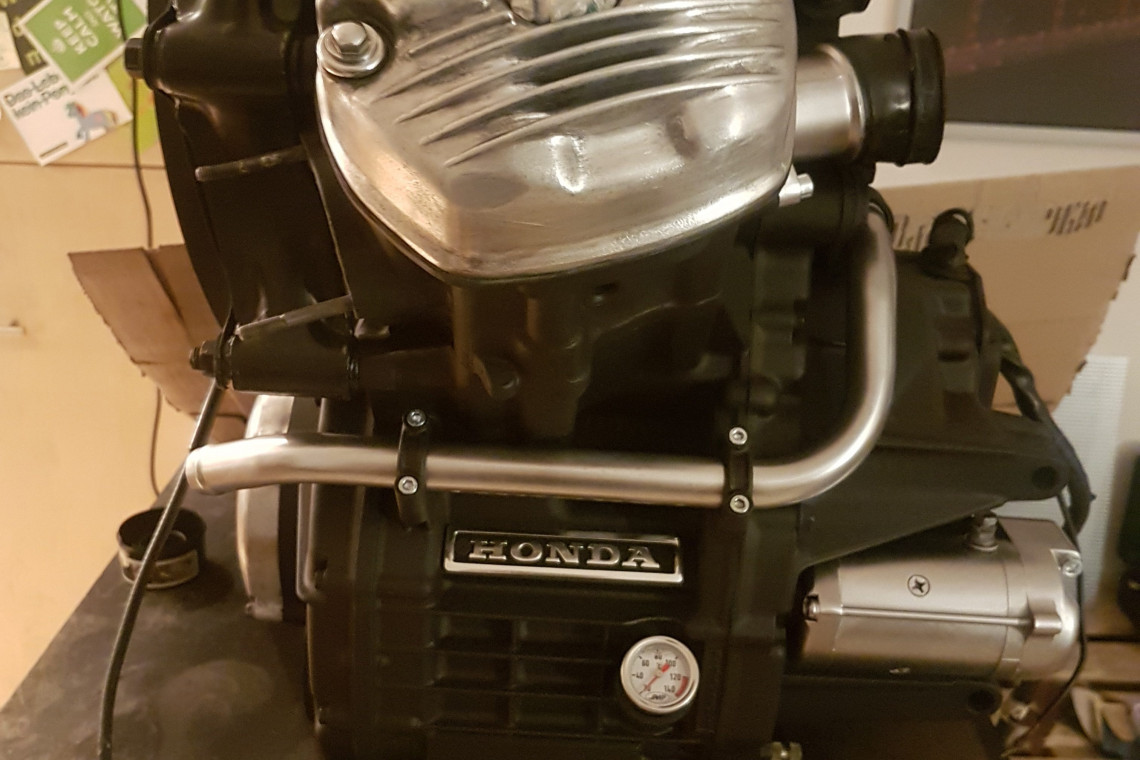
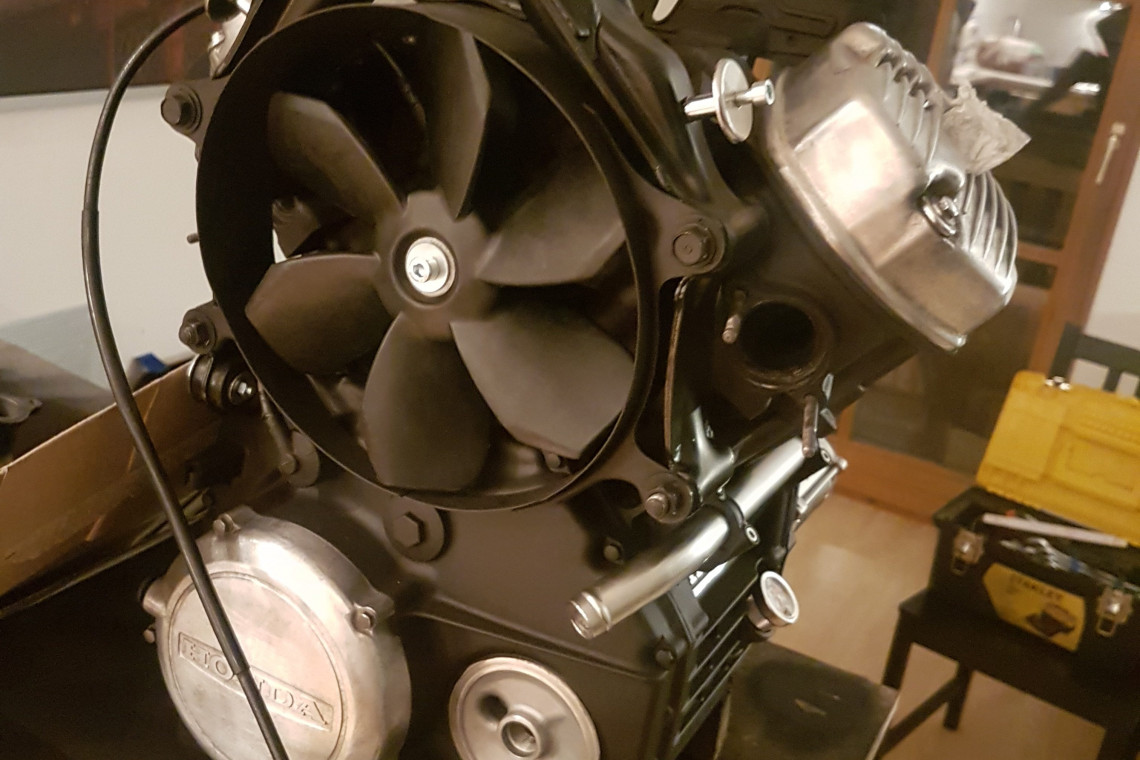
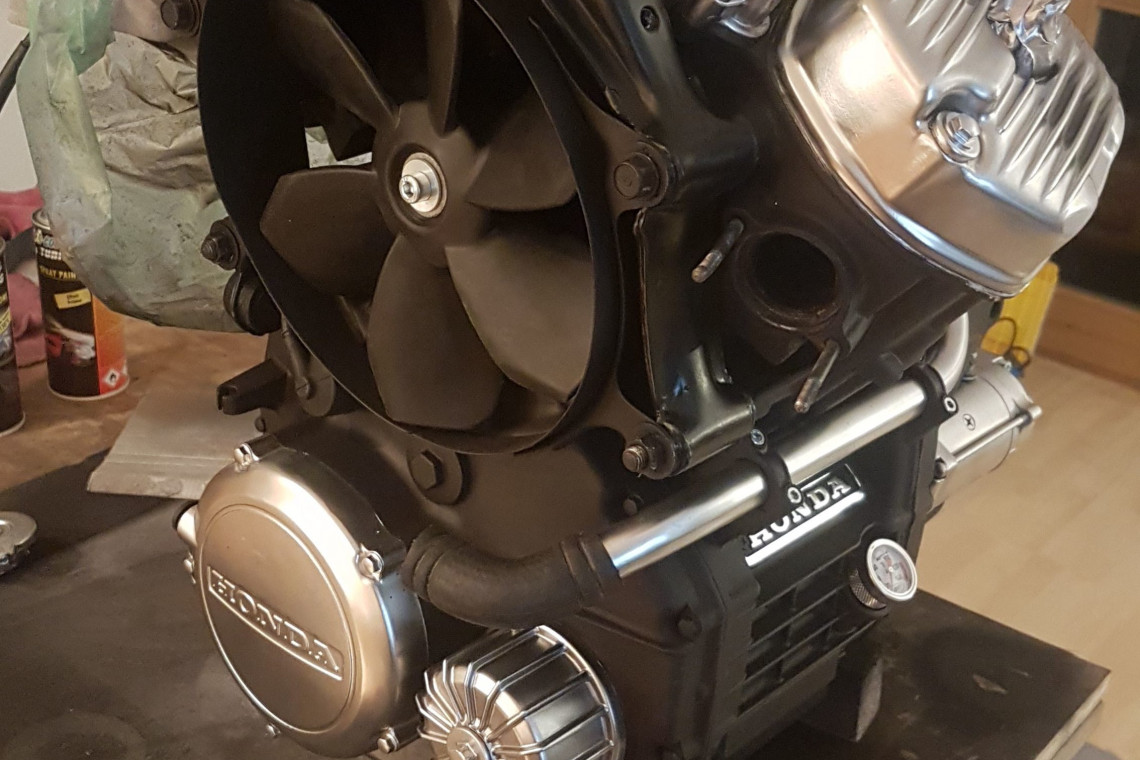
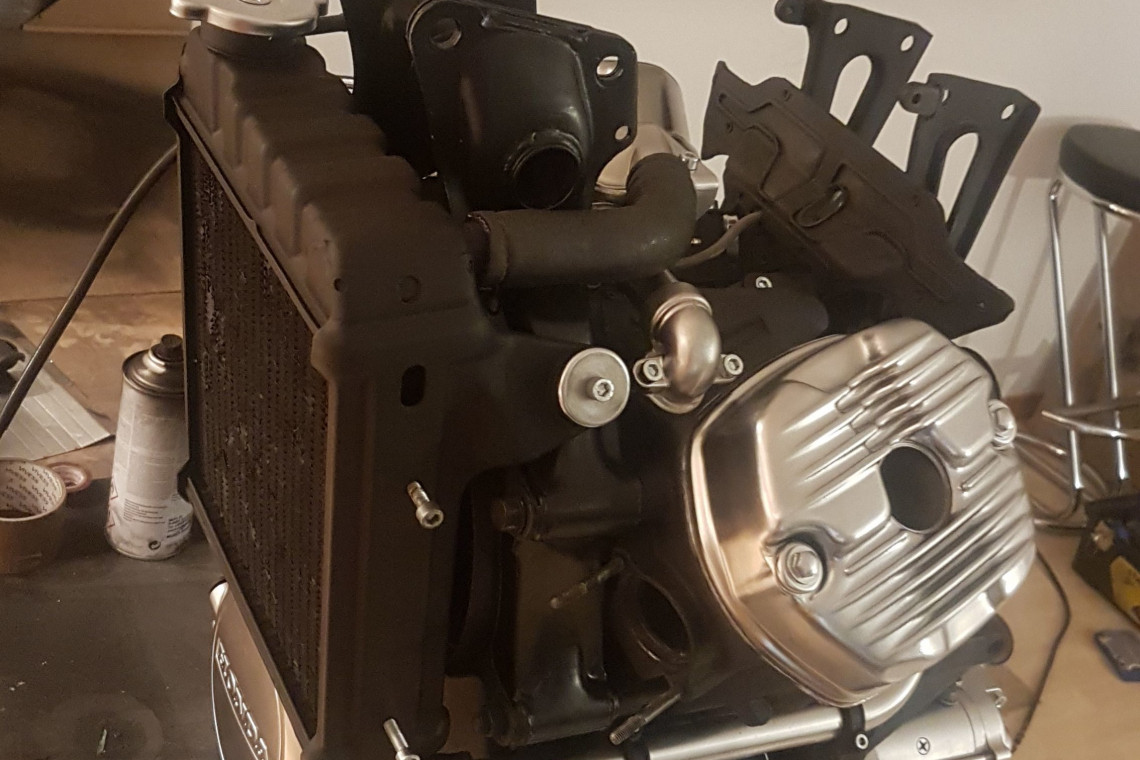
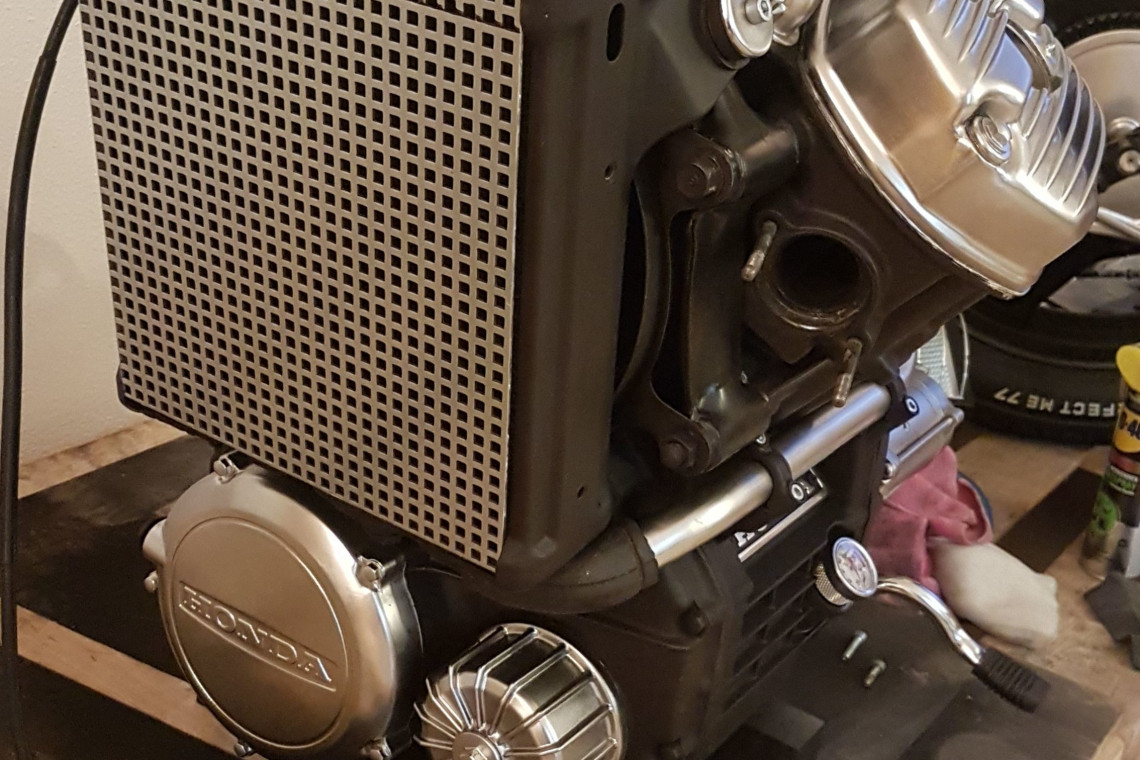
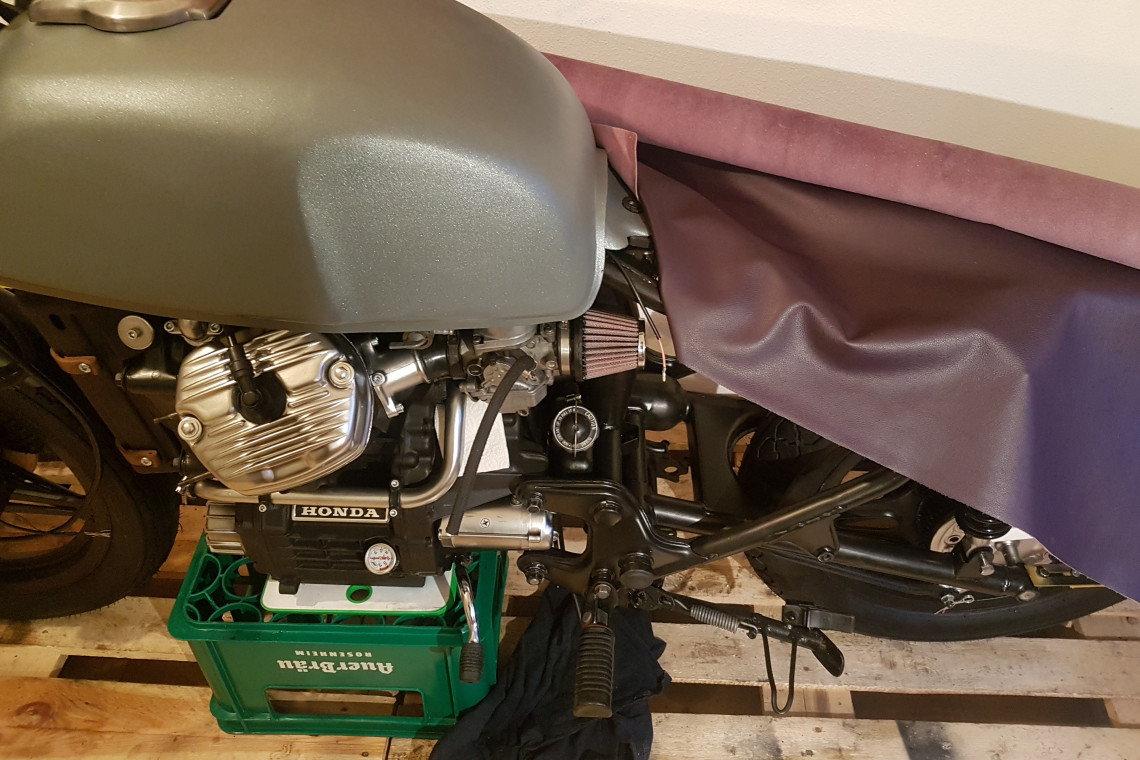
The gallery shows my intentions and the seat ending should be place for the whole electric unit, i.e. battery, CDI (oh I am such an expert), relays and connectors and the described frame activities (not to forget that frame needs to be cleaned and sanded before painting). The next big thing is the engine (actually to be precise, 496 ccm big, my dear Susan). The engine is still on the balcony, partly disassembled, and partly cleaned. I have used an engine degreaser, many brushes, Dremel tool and sandpaper at the end. Hey Jim, not forget to remove the oil and other fluids first. Just a reminder, thank me later. In my first design, the engine should be black mat with silver details (cylinder caps, pipe, clutch, and oil filter covers, starter) and the paints should be heat resistant. Next, cooler should be also black with custom front panel (handcrafted).

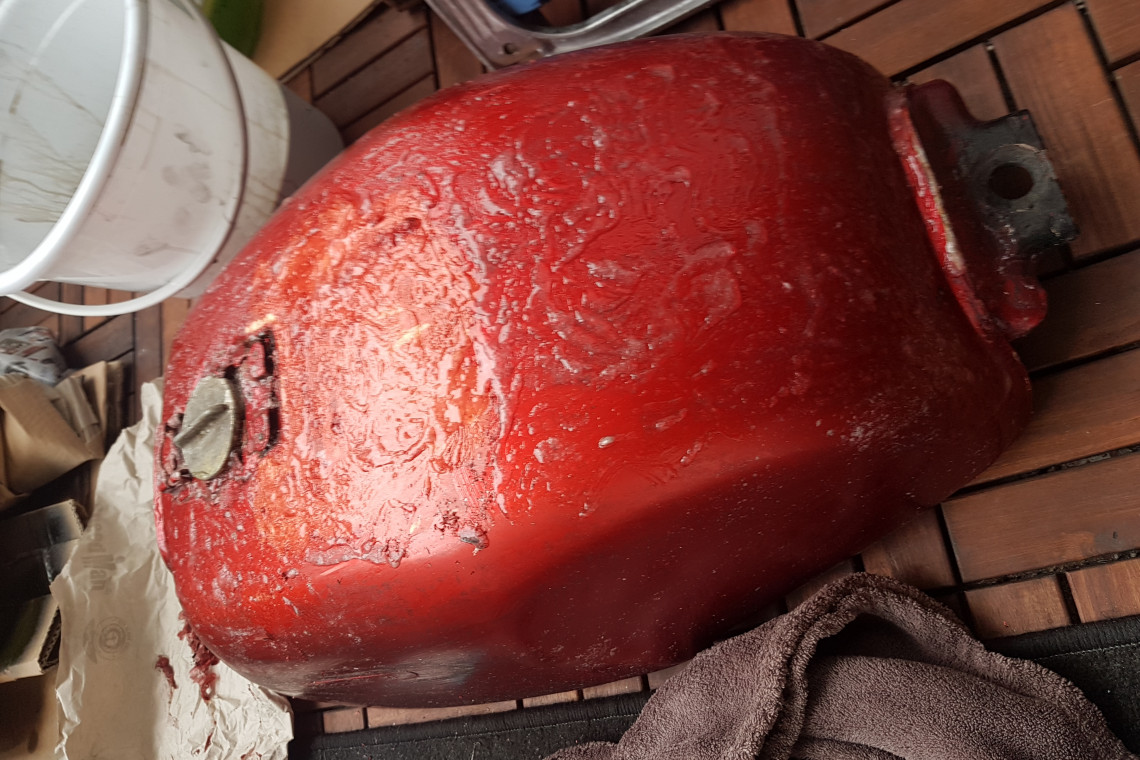
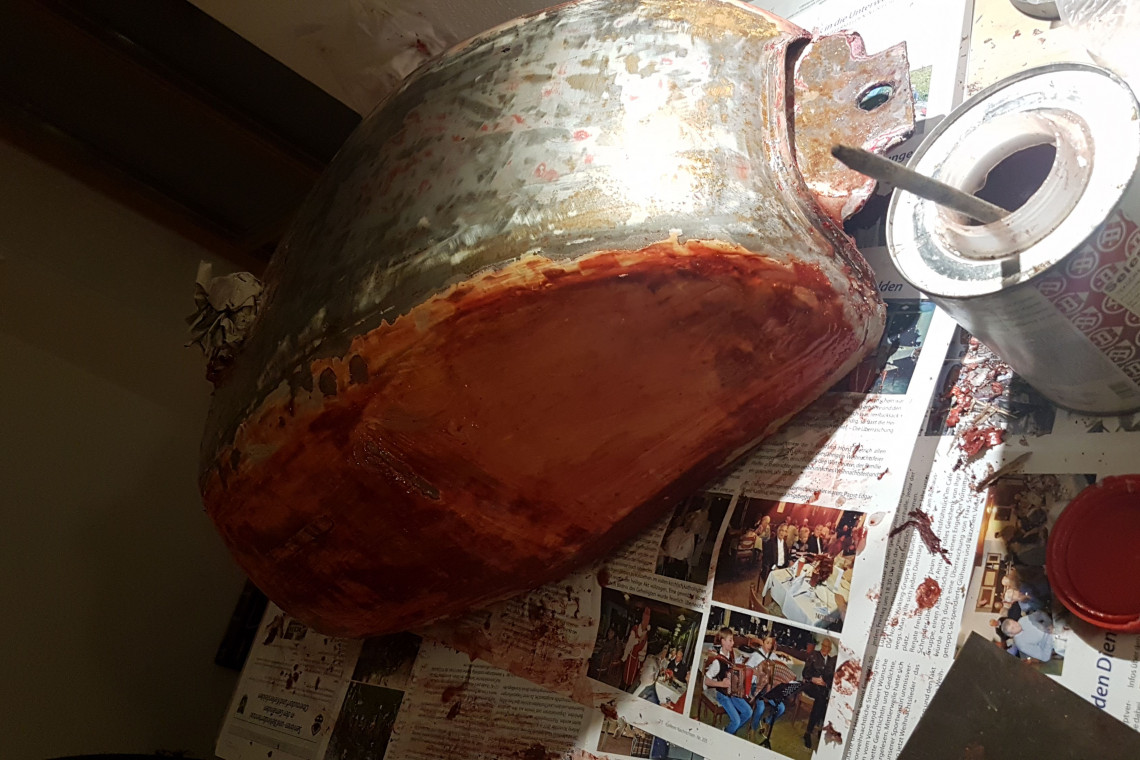
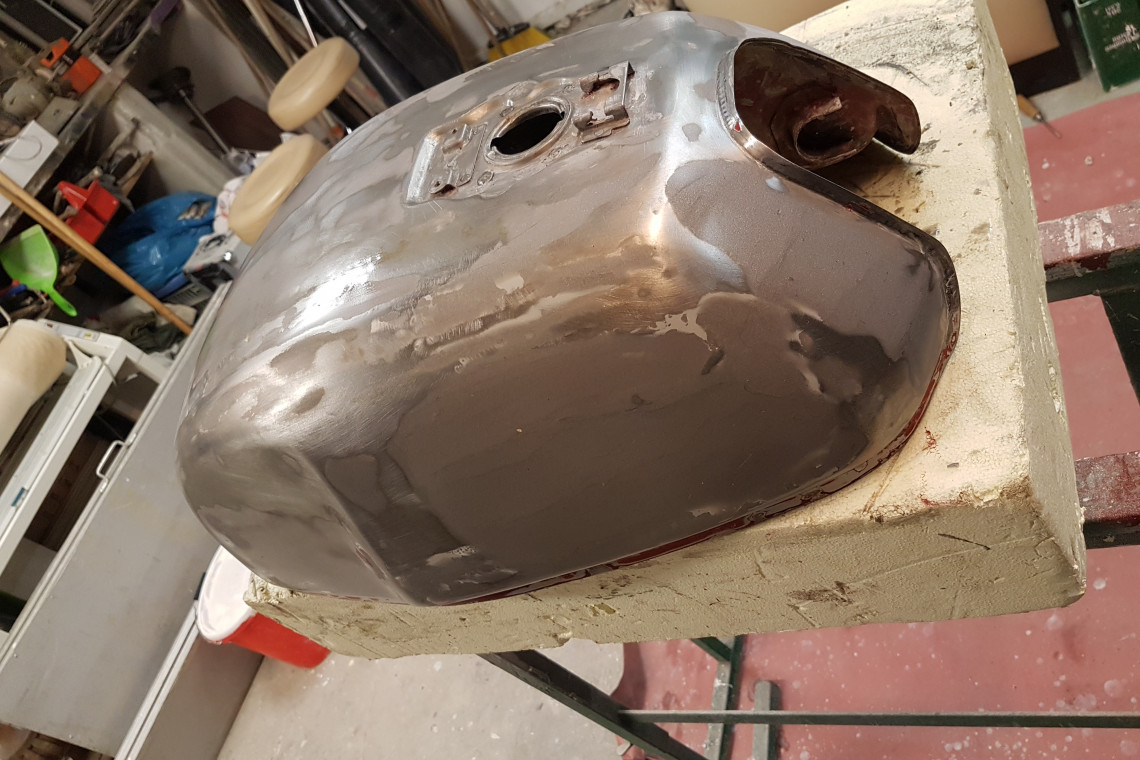
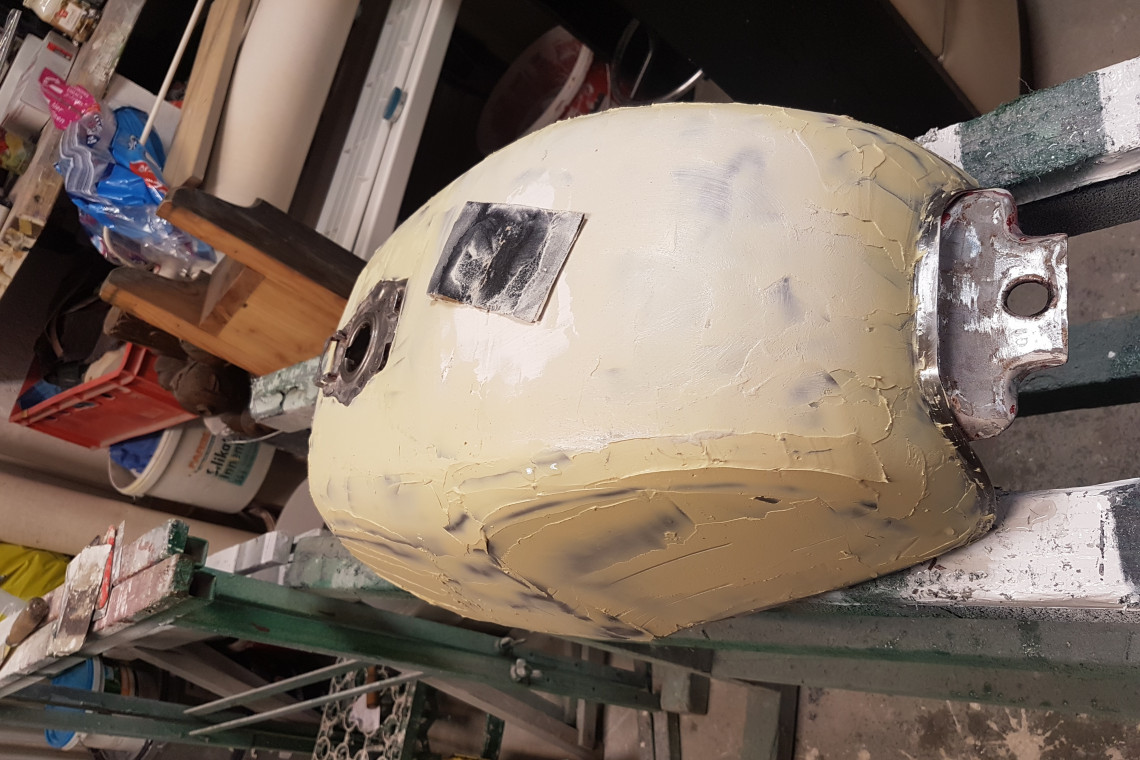
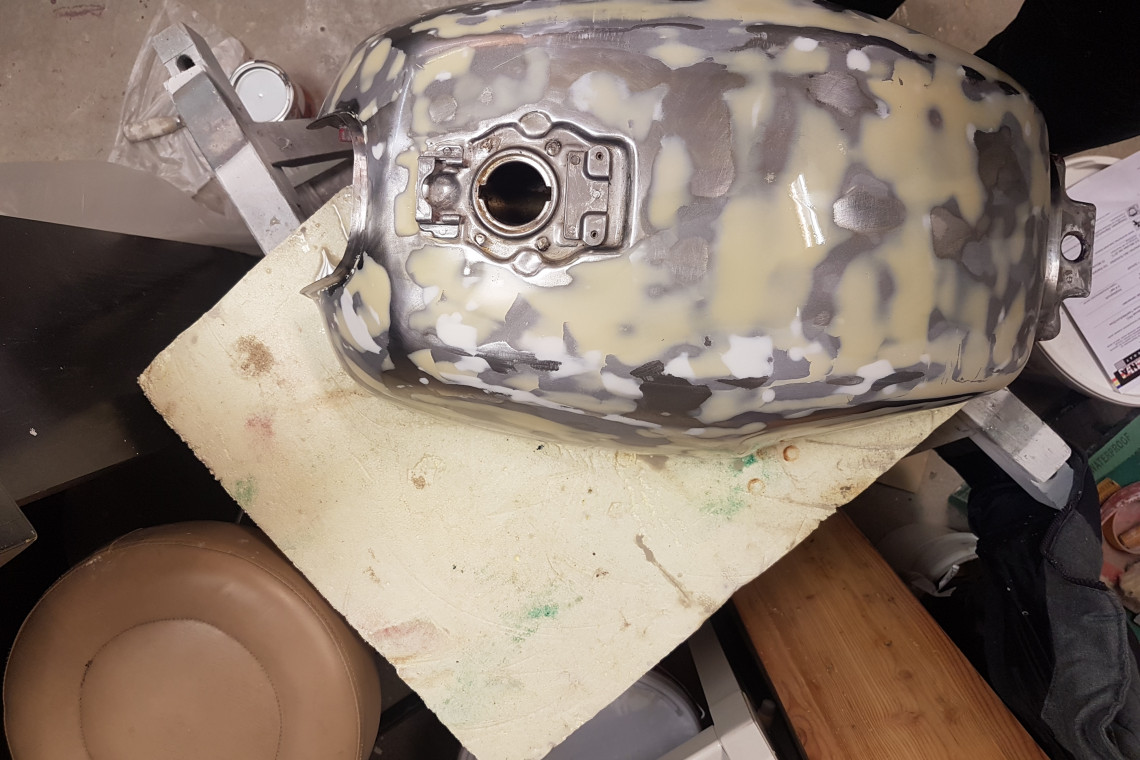
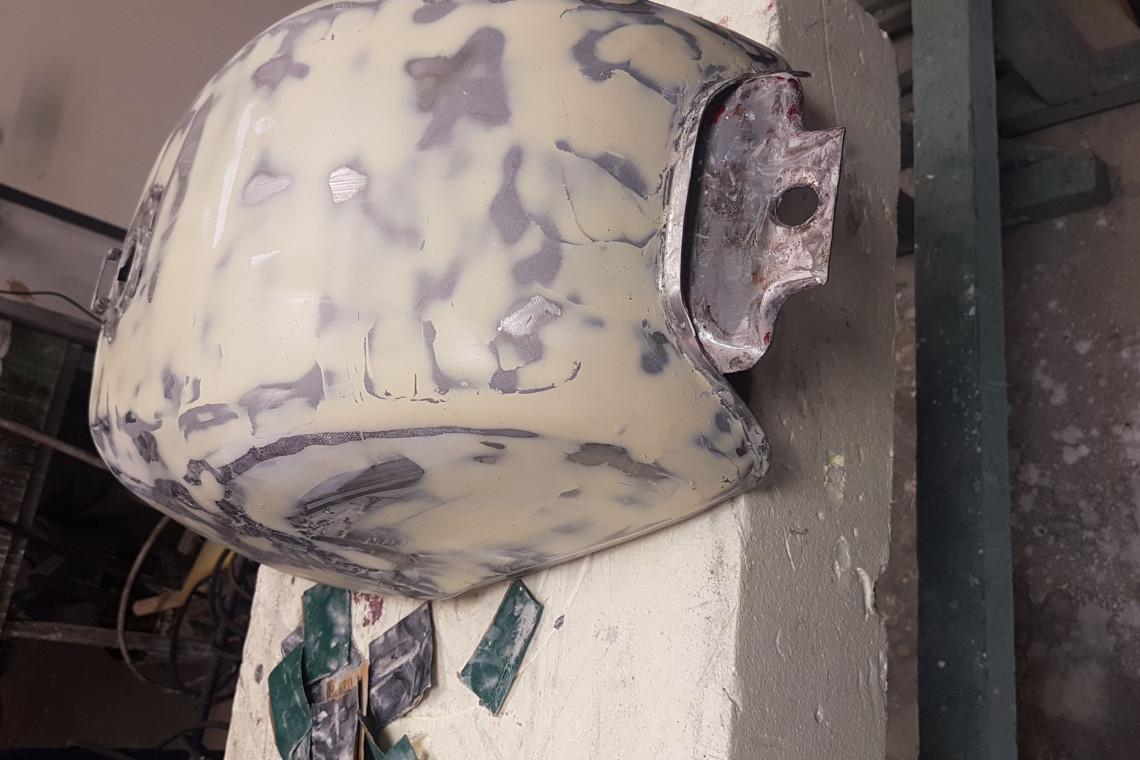
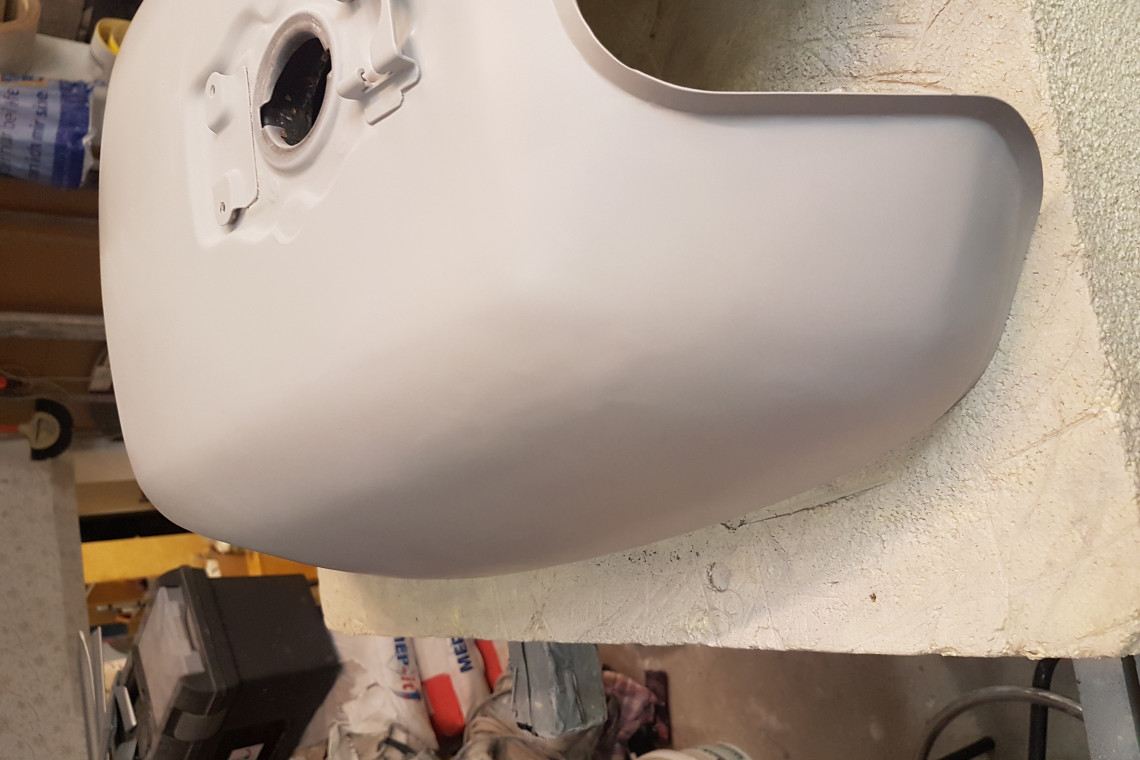
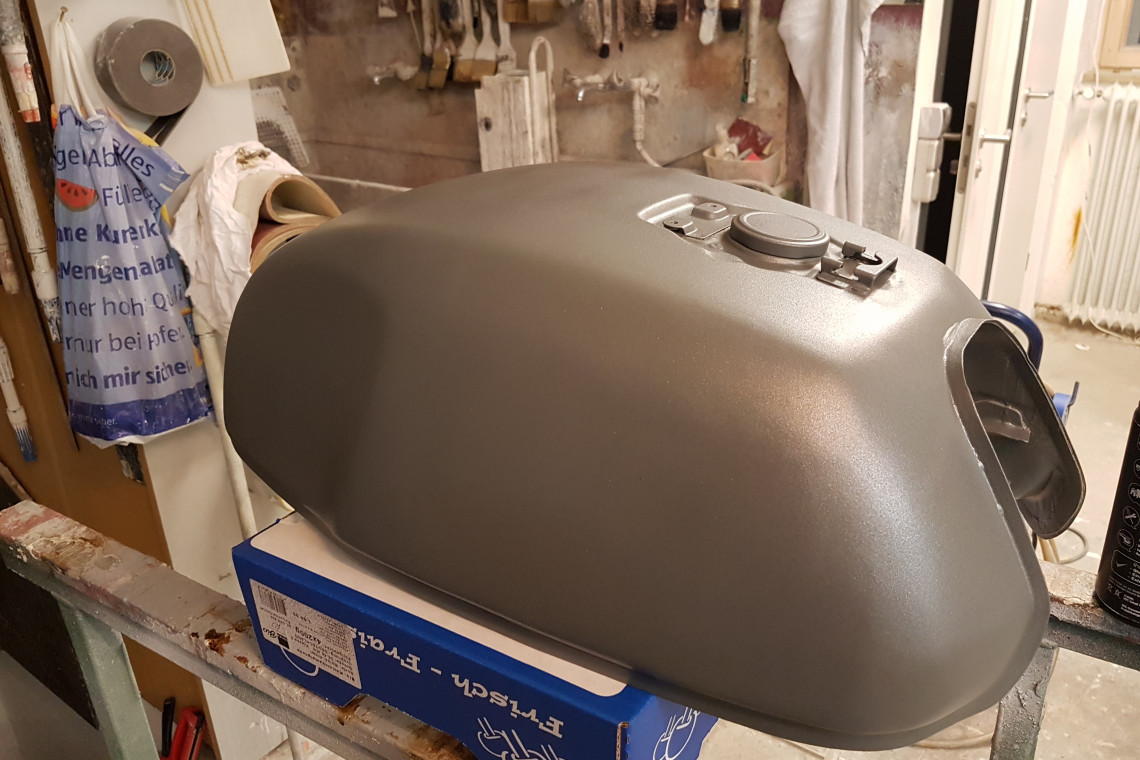
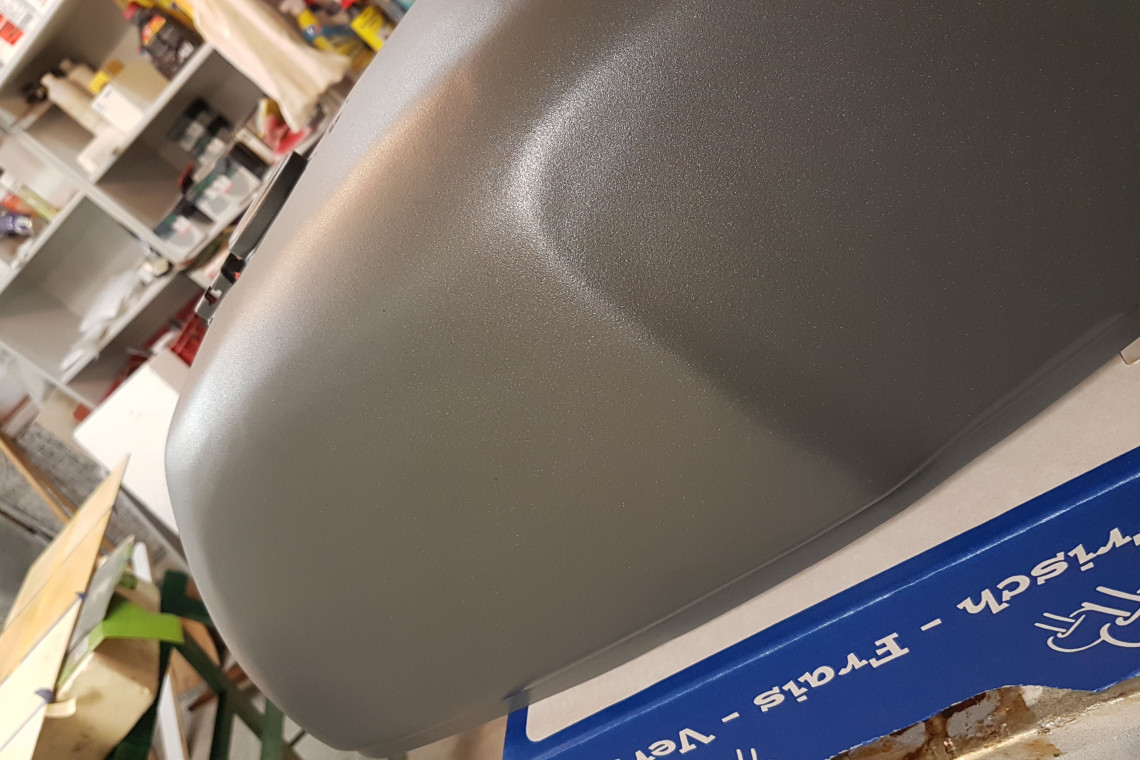
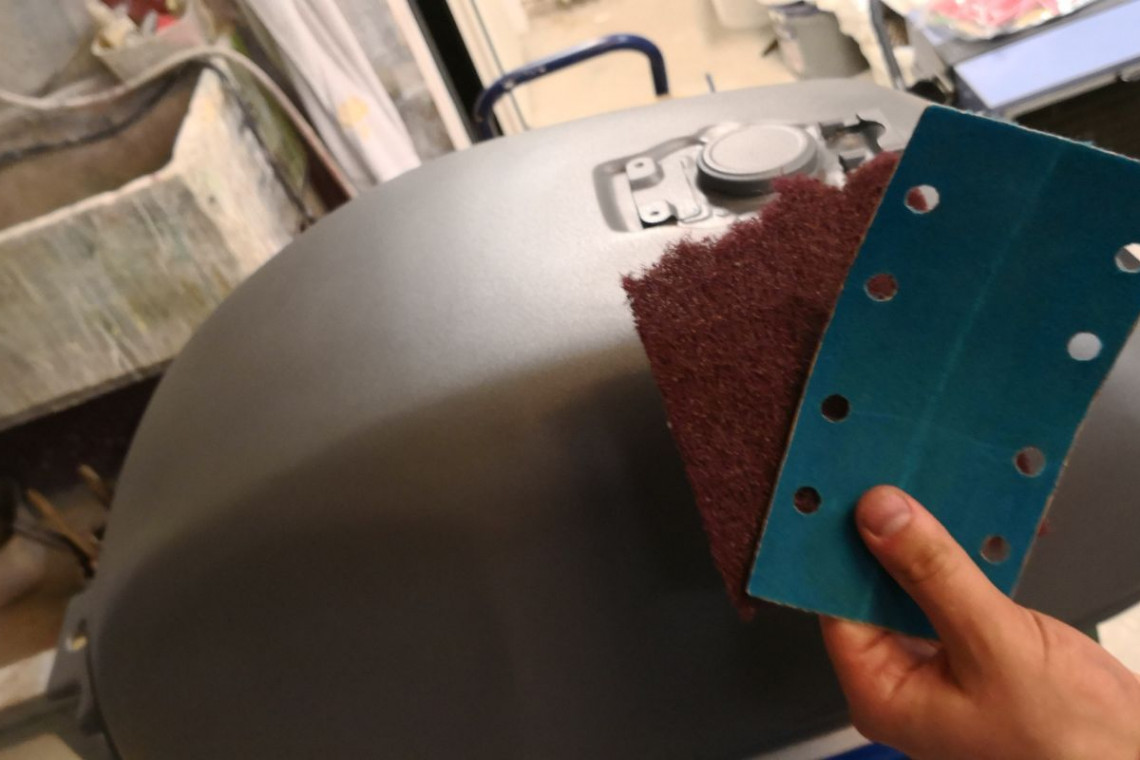
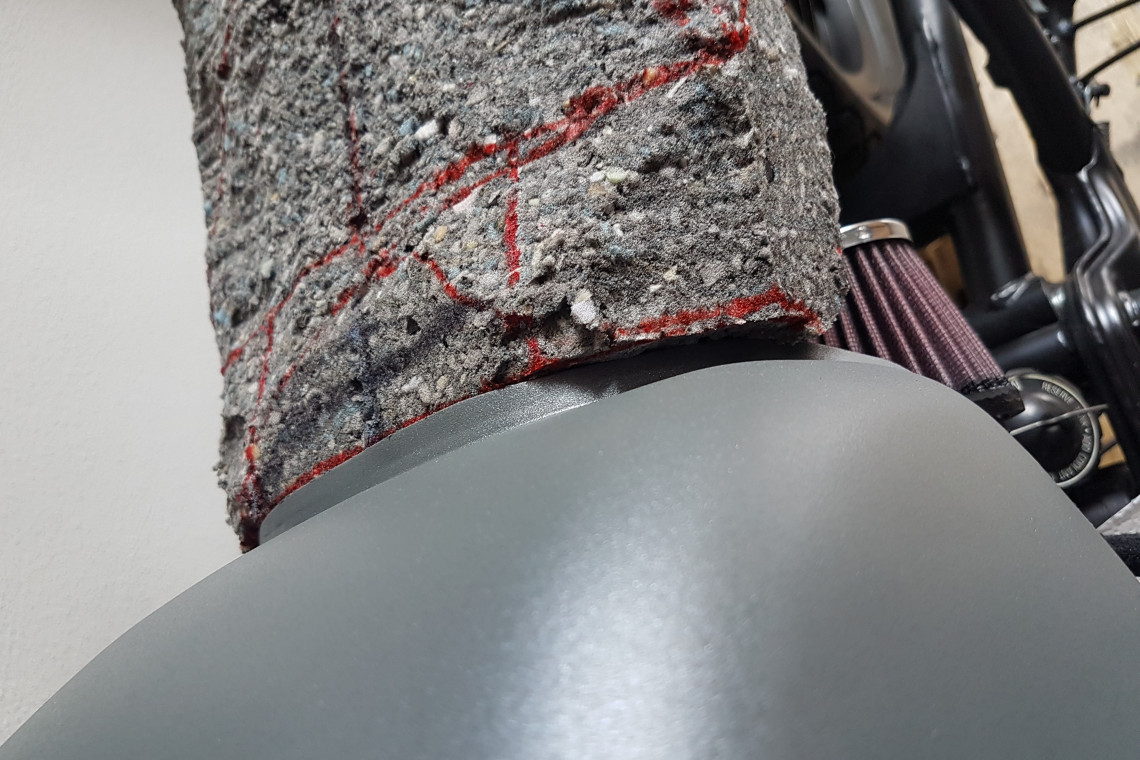
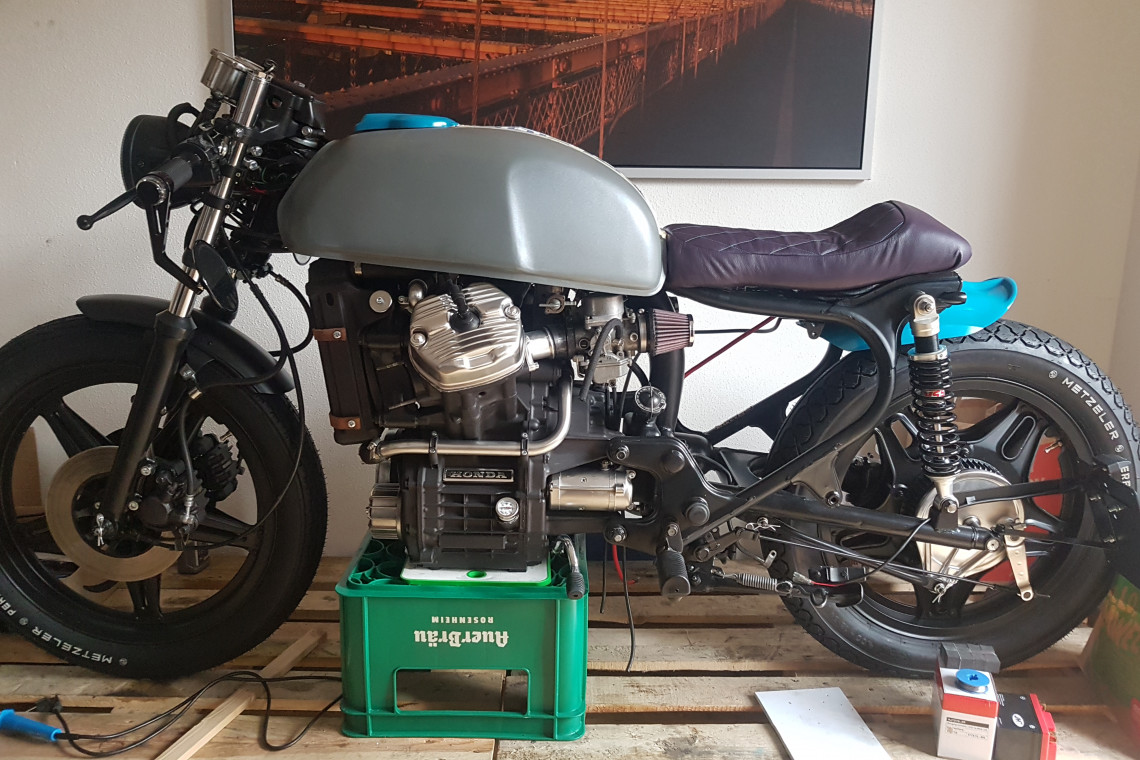
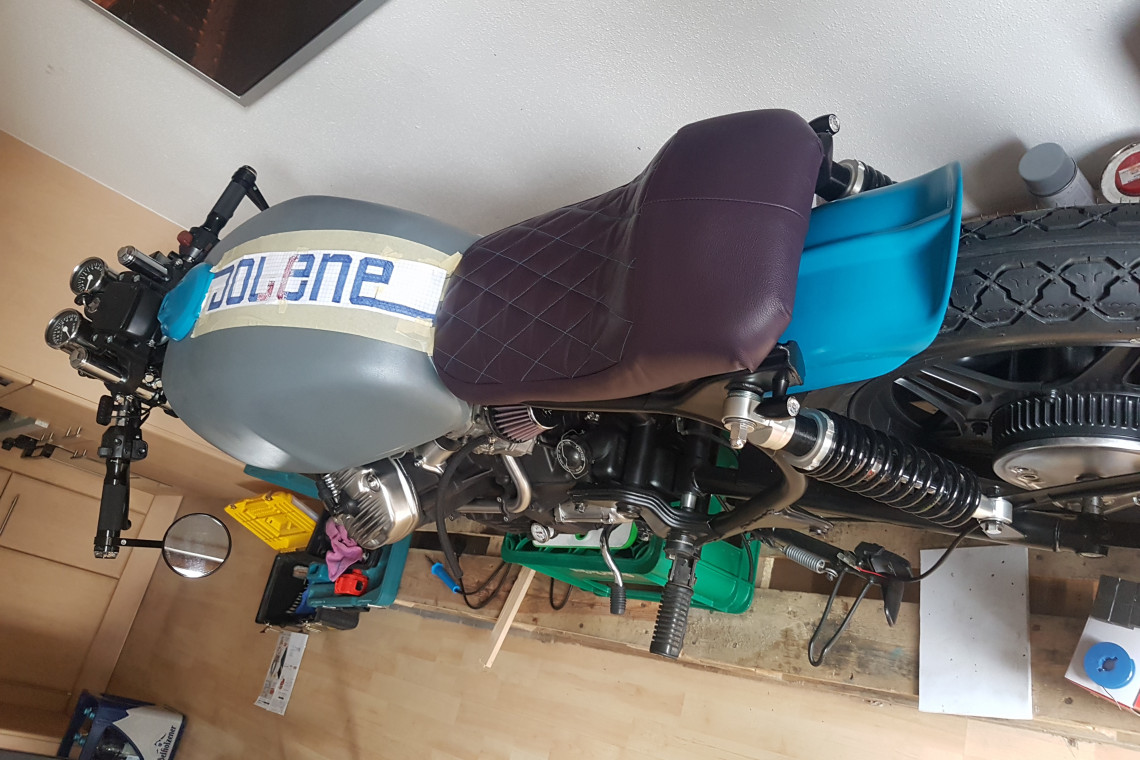
Hm.... what else is missing Karen? Oh, a tank. I noticed that grandpa had a few situations with a tank and bike. Minor ones, a few scratches, and one small dent. It was professionally repaired and repainted. I dont want this red color more, sorry Jolene, we need to remove it. New color will beeee, are you ready folks? Boring gray. The process goes like this: remove old paint (EDIT: was such a mistake, dont do this), repair the dents, sand it a milion times, prime it, paint it with liquid rubber spray and at the and add a few layers of silver rubber metallic coat. I choose these paints because I thought it will be cool and modern. What I didn't expect was that this paint doesn't go well with gasoline (learning process Jim). It was strugling job, and I hate sanding. After the painting was done I spot some interesting color pattern. Turquoise with brown-red combination and I will probably use it for the rear fender and a seat. It will be awesome.

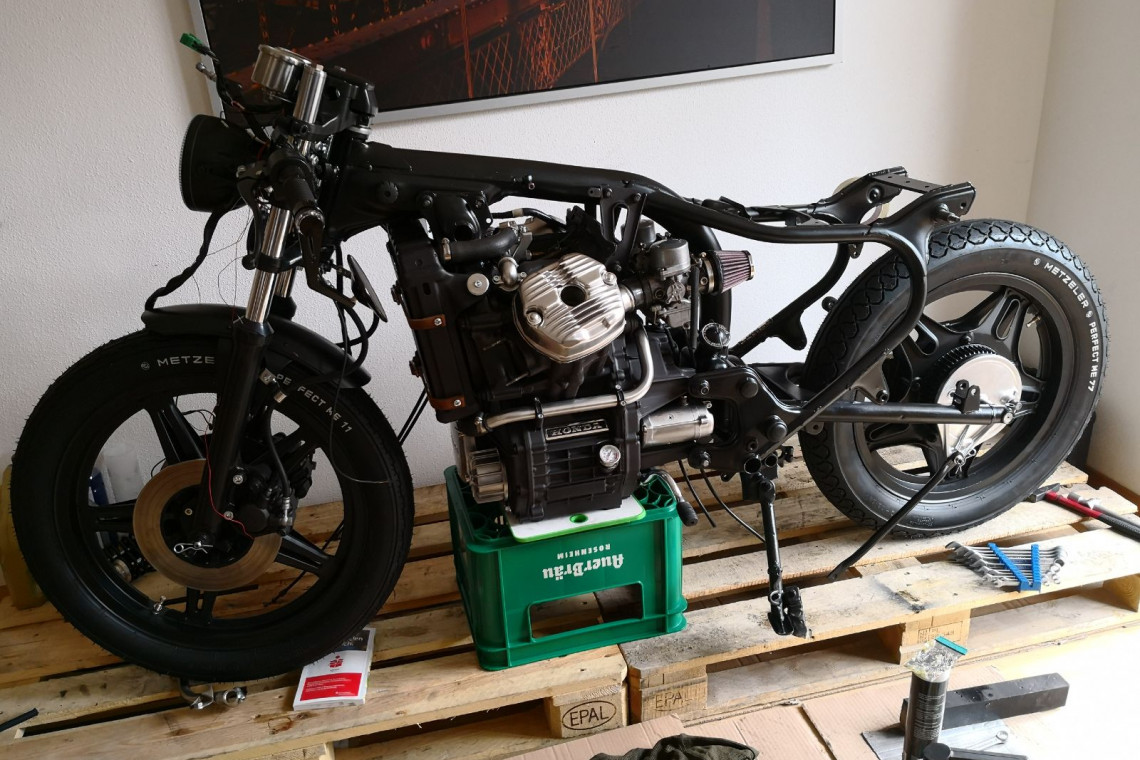
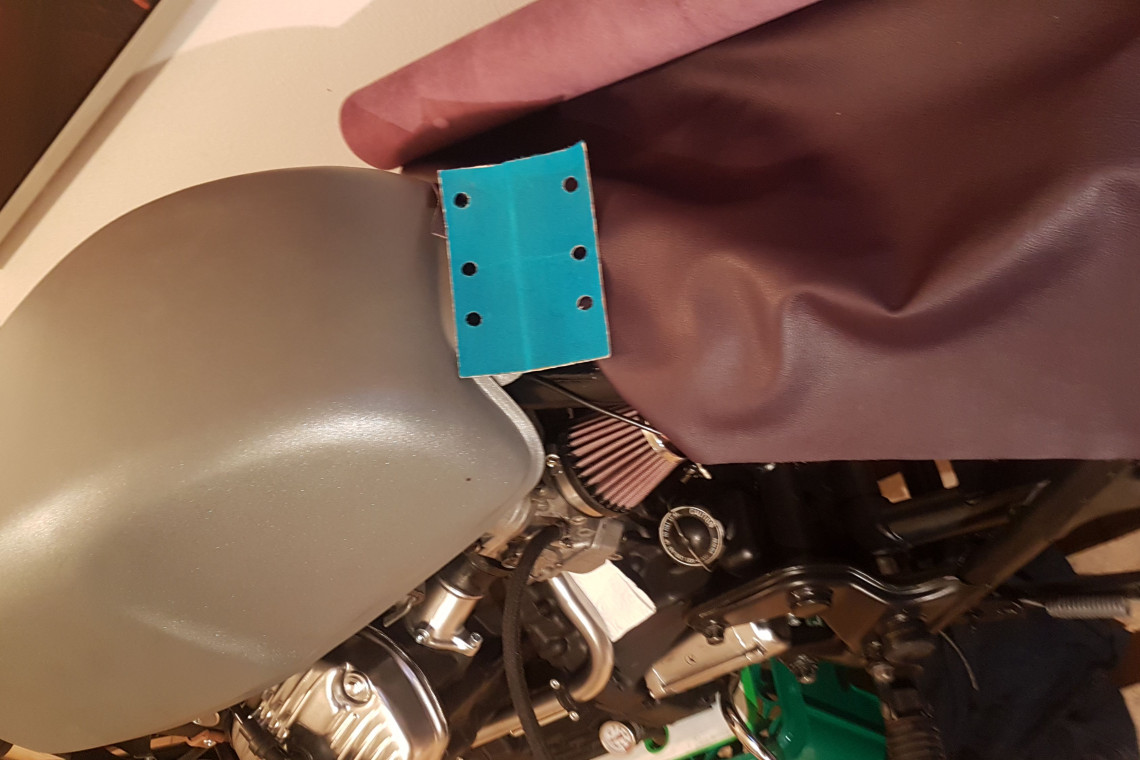
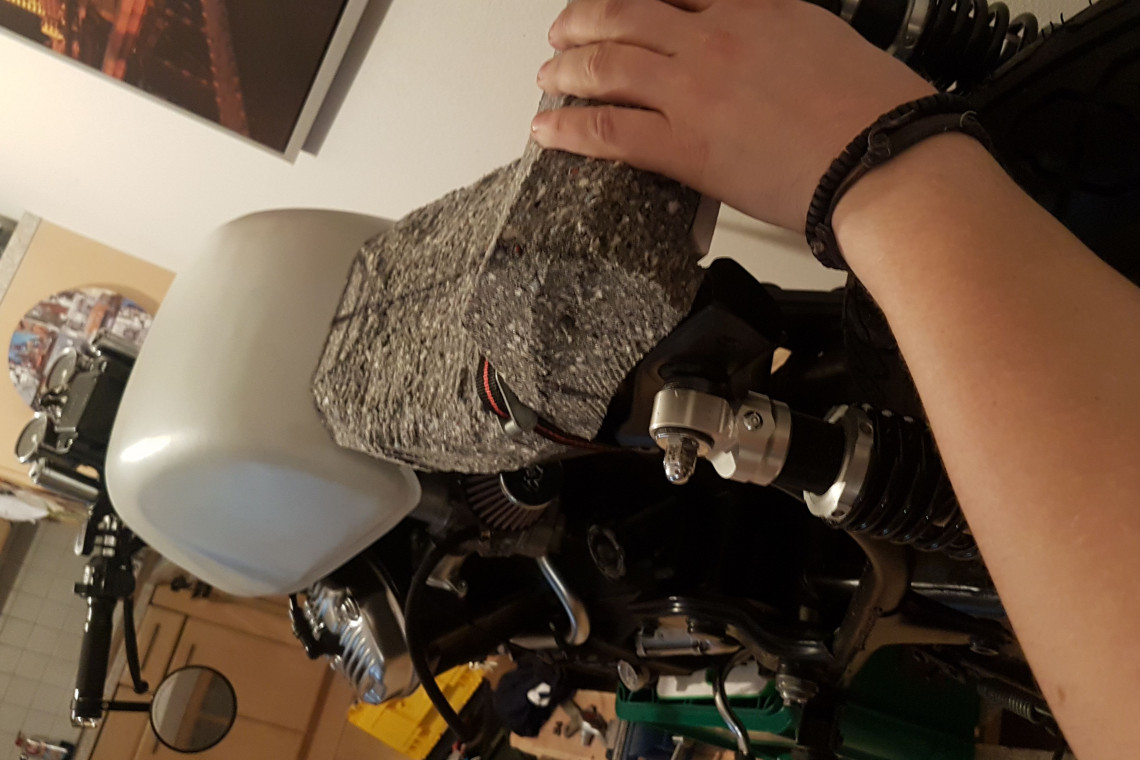
Seat, a car manufacturer from Spain, part of the VW group. Not this Susan, a seat for the bike. settle if you are building the bobber. I decided not to do classic cafe racer seat with rear cover. It will be single-seat and the small fender bellow it. So yesterday I received foam and thermoplastic plate and the party can start. For shaping, I will use a scalpel and kitchen knife. I don't have anything else for this task. Before this I will reassemble the bike, the engine goes to the frame, the wheels, the tank is done, almost there folks, almost there.
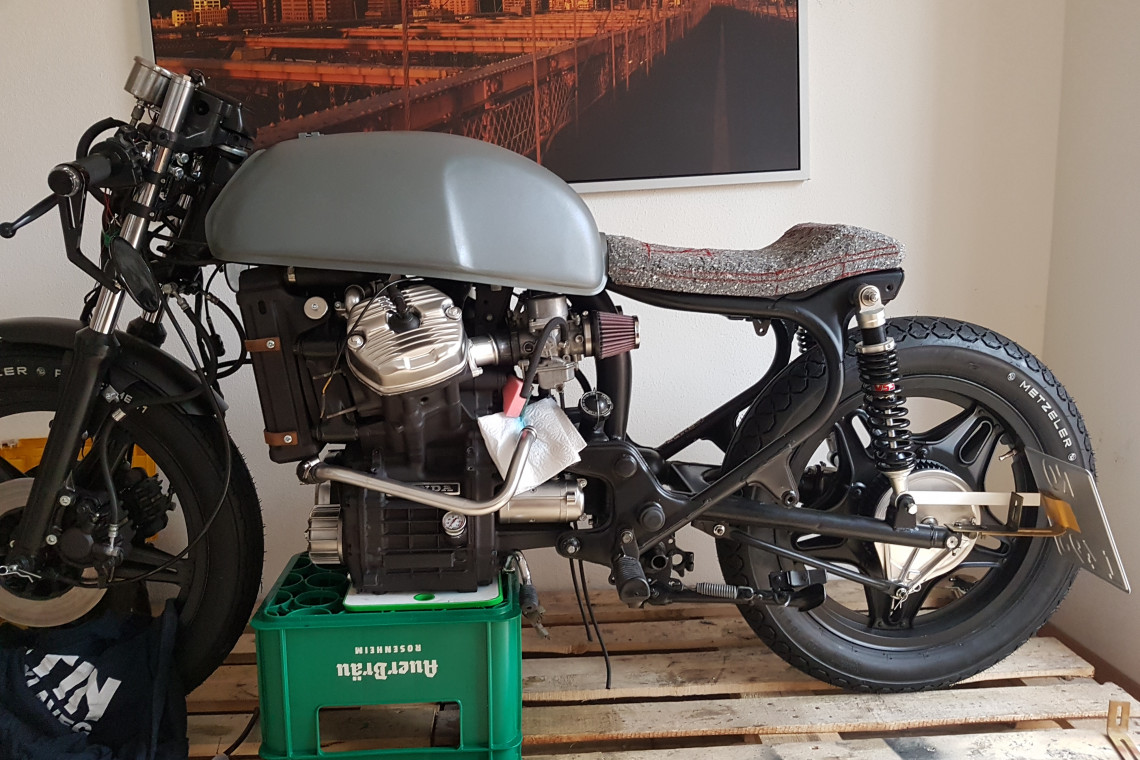
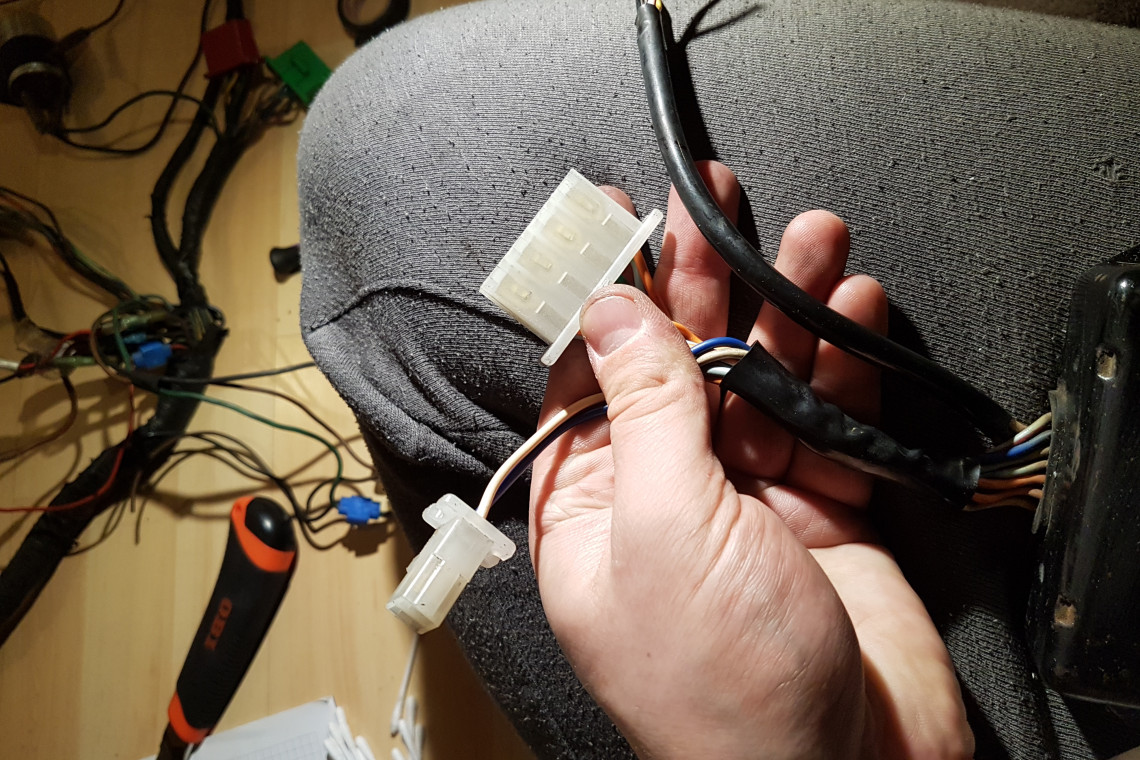
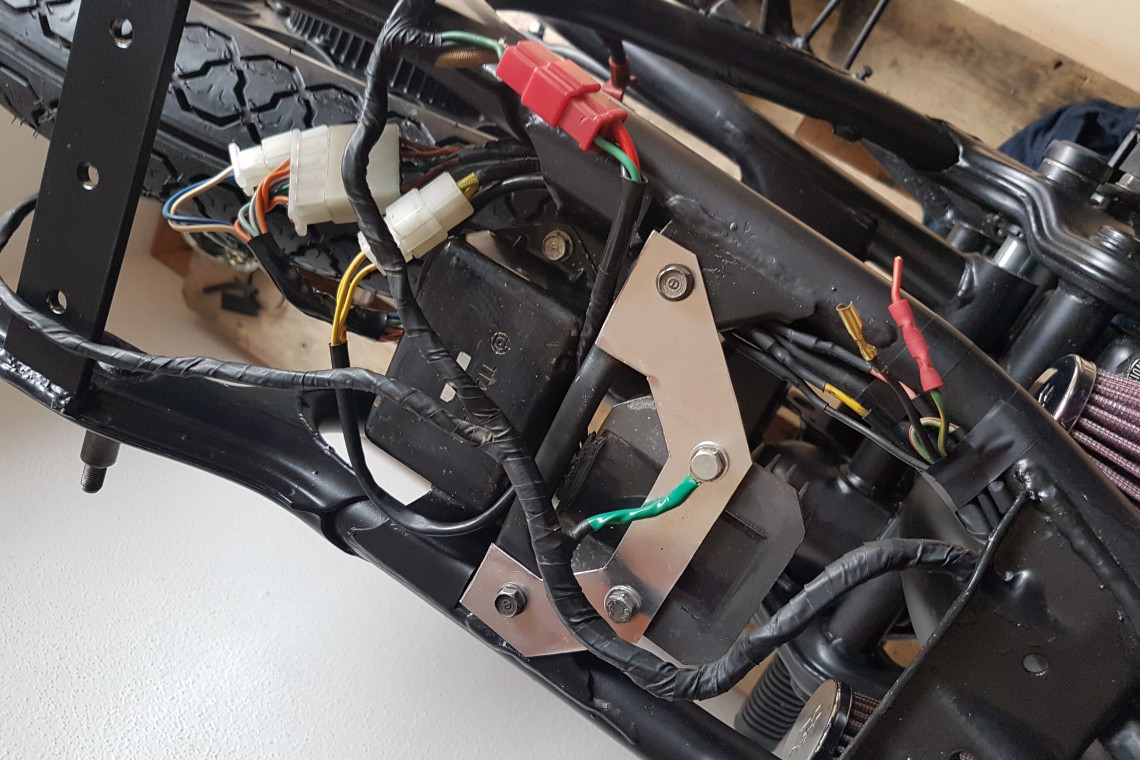
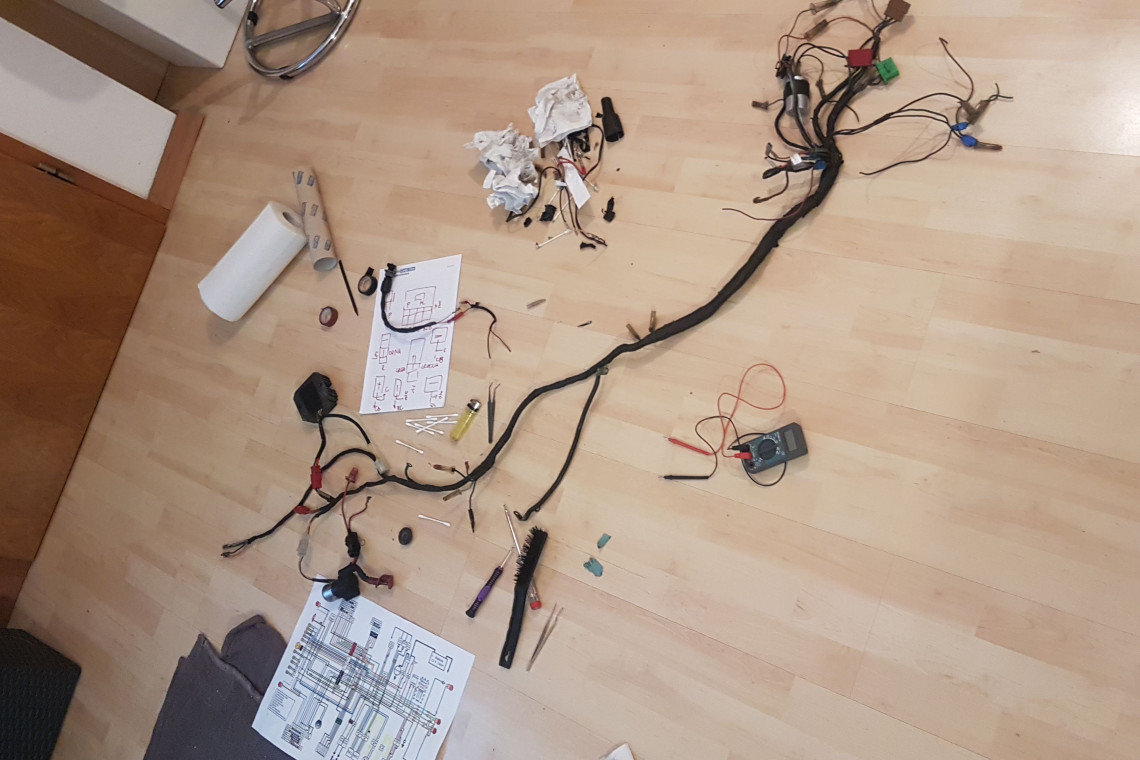
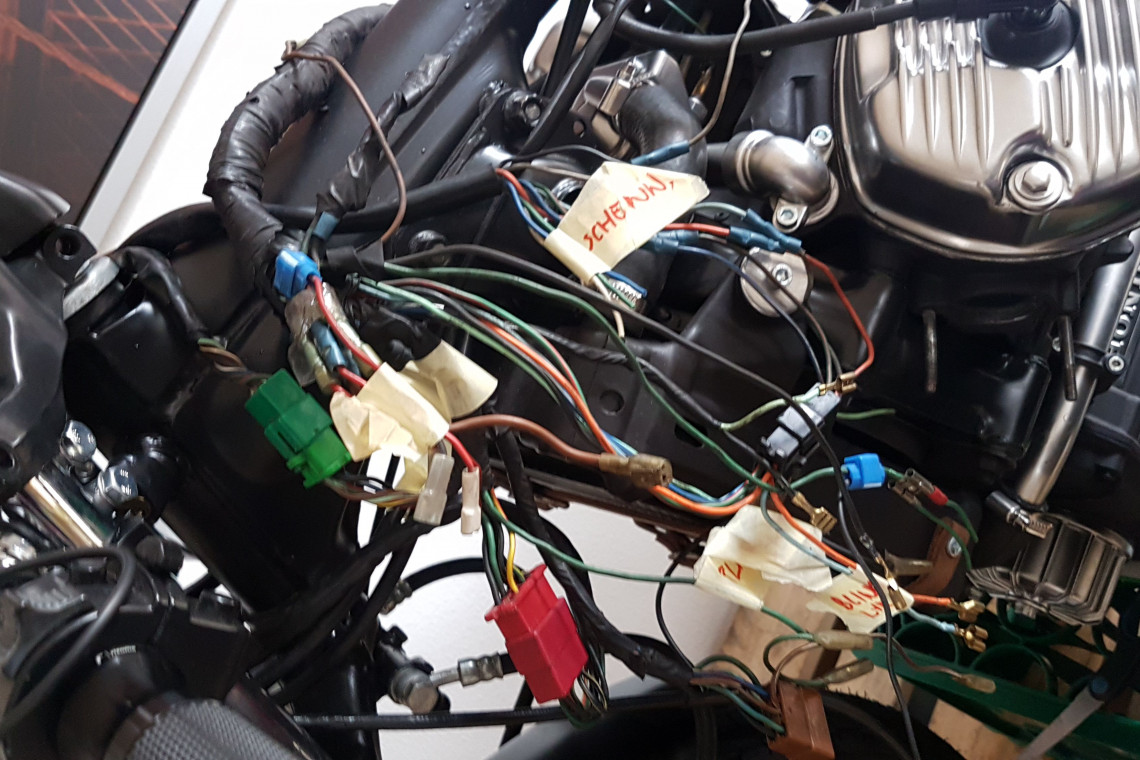
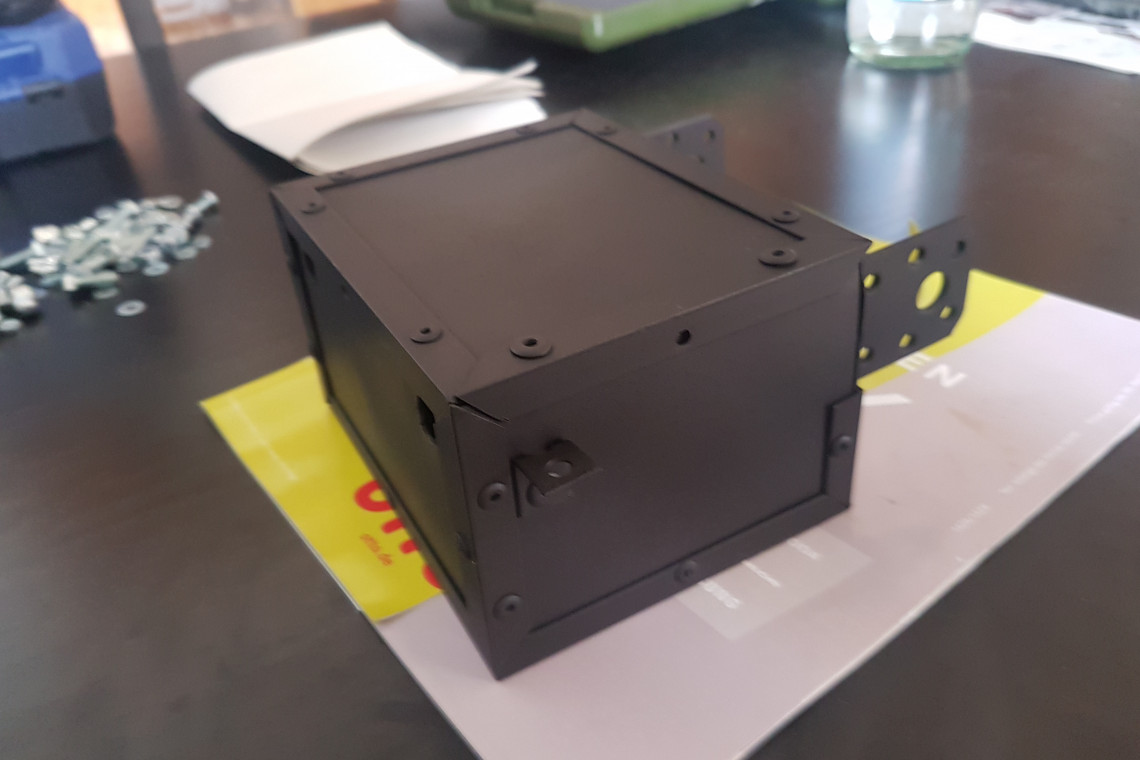
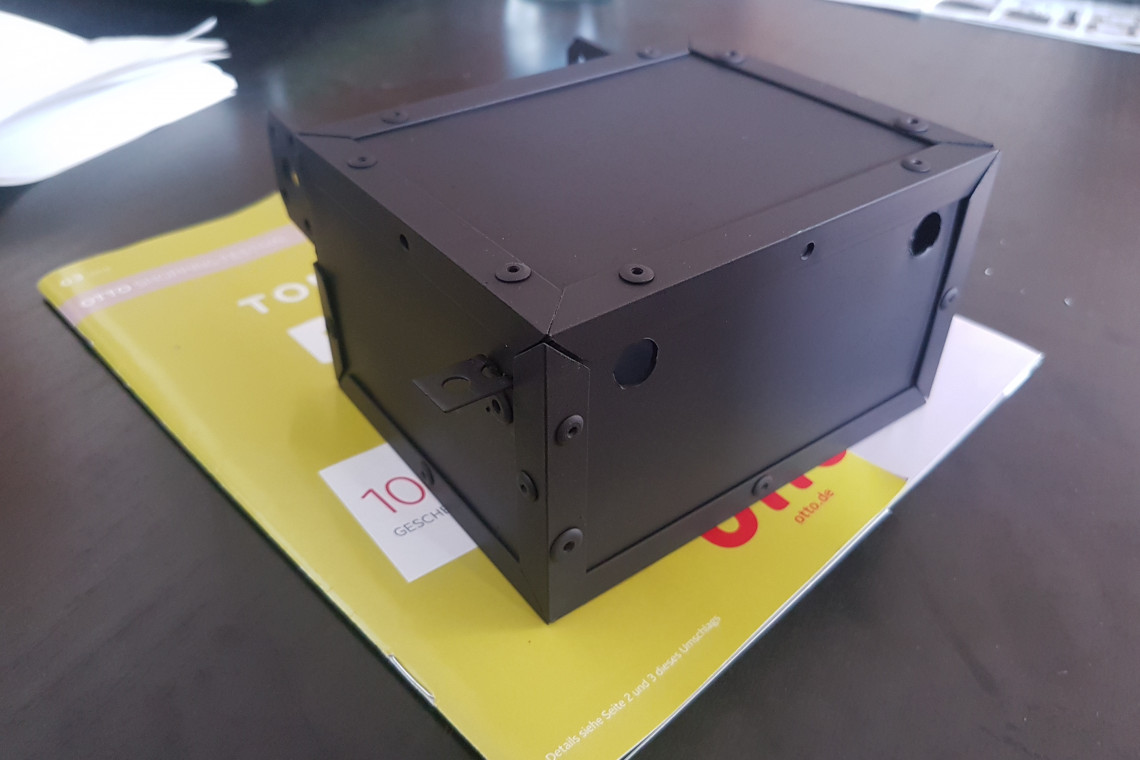
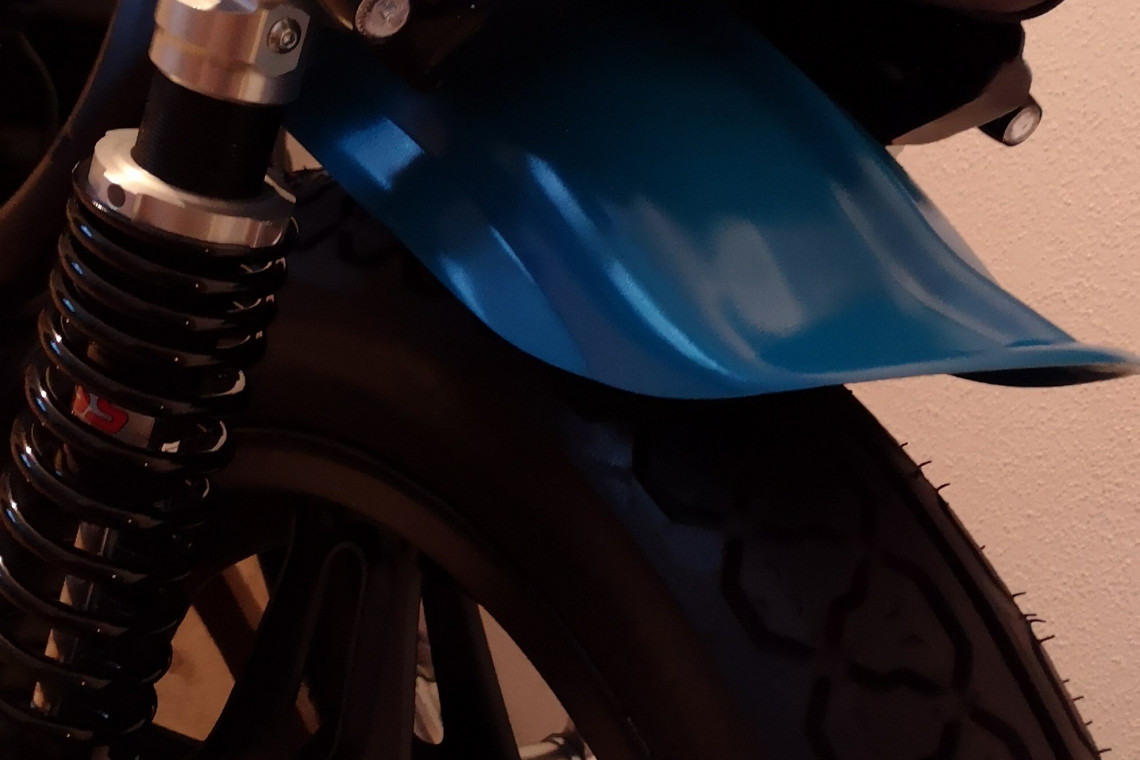
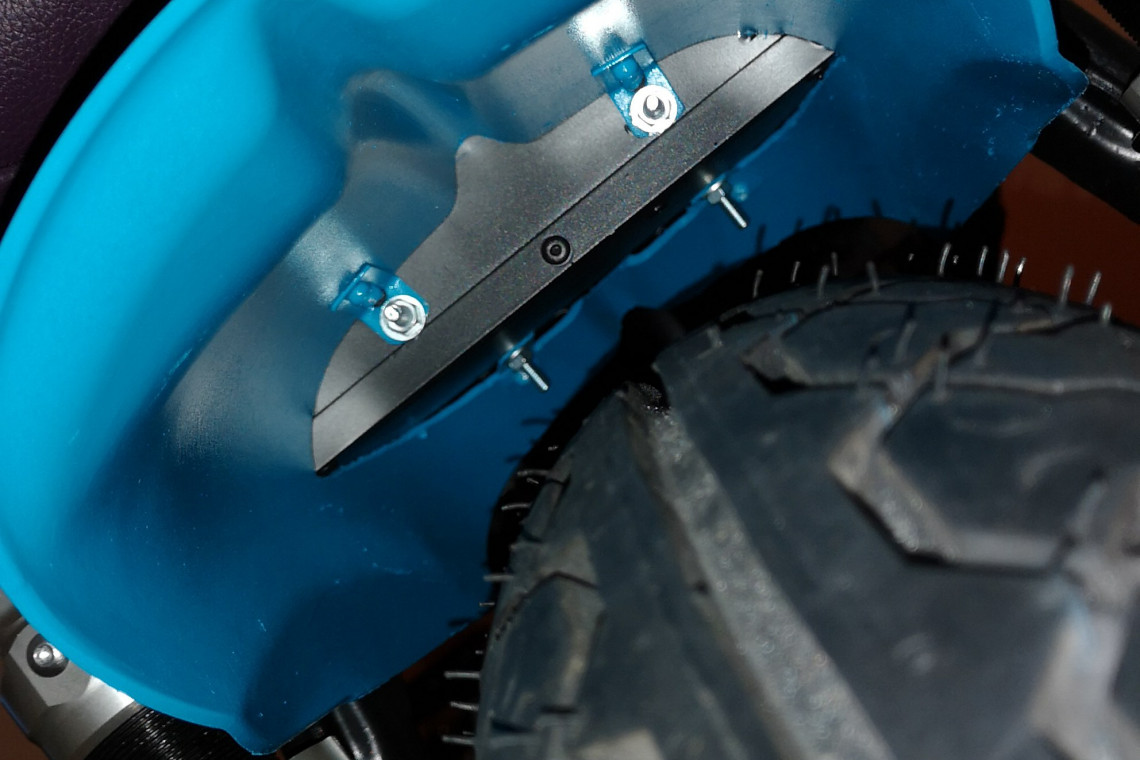
So as the process is going to the end, there are still a lot of things left. I will put the rest to one big ass gallery my dear Karen and it will contain the electricity task and the rear fender. A short description follows. I've cleaned the harness with WD-40 Contact and a 90% alcohol, shortened it and replace the bad connectors. The rear fender is Harley-Davidson like plastic fender and it is modified and screwed to the small box under the seat. A small box contains the relay, CDI unit, and all the connectors and the battery is placed under the engine instead of the main stand. The leather cover with a diamond pattern for the seat is finished by my best friend. Thanks, dude.
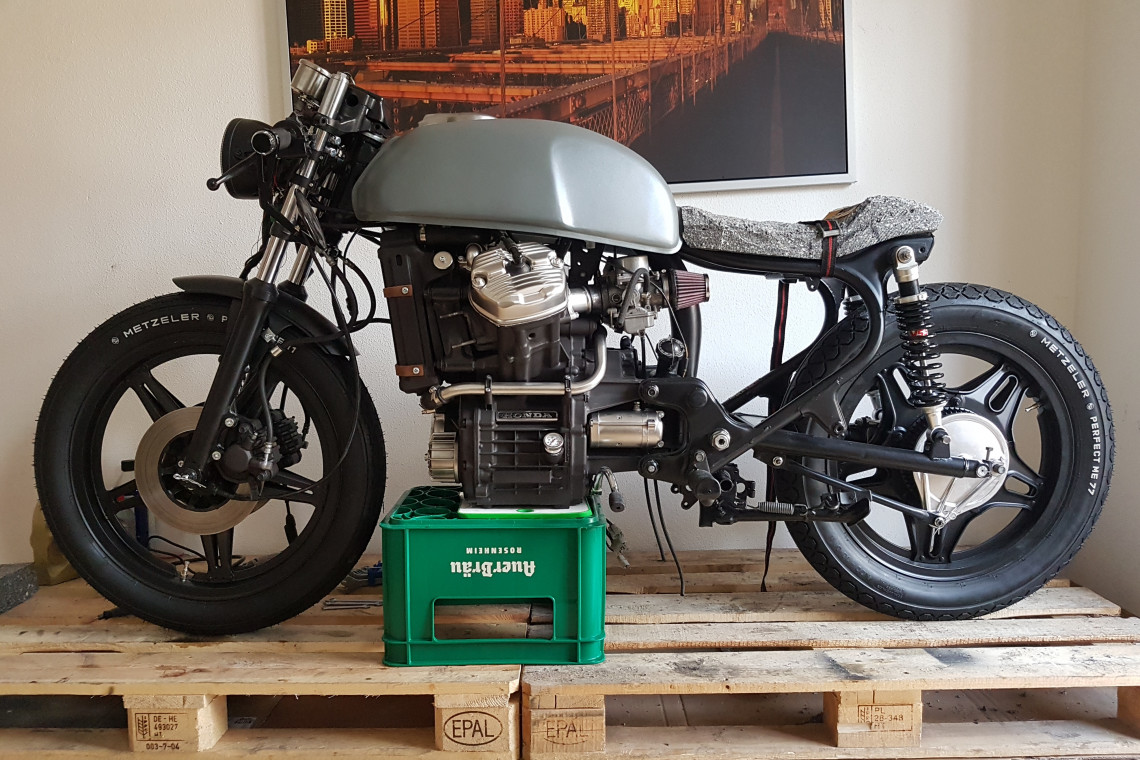
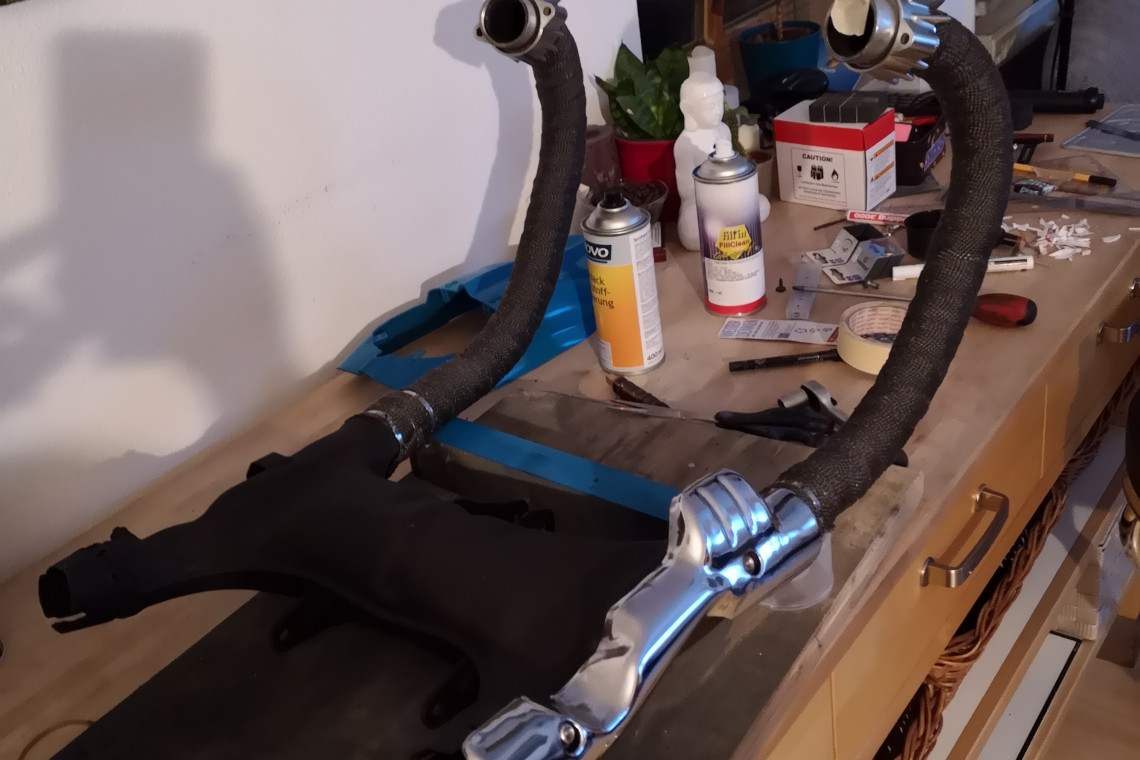

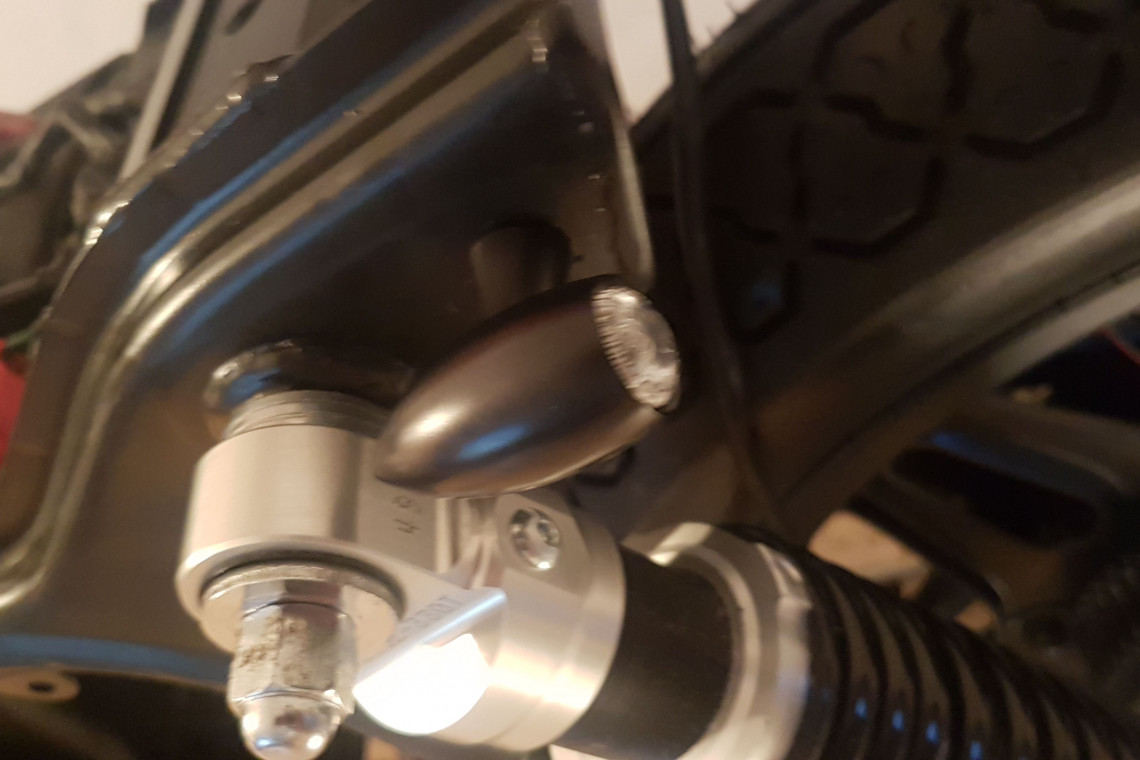
The exhaust is cleaned, painted in black and covered with special wrap (looks cool, doesn't it) which protects the pipe and increase the thermal performance of the exhaust and the mufflers are painted with the same engine black mat paint. And almost forgot it, rear indicators are Rizoma Club S with a stoplight, indicator, and light. The last things to be mounted are Rizoma footpegs and Rizoma side plate holder. I think I am done, Susan.